
A few months ago, I was! Someone from a Facebook group I joined – Feed Yourself for £1 a Day – shared a photo that took me back to my childhood. This lady had made what she called Wartime Jelly Creams which her gran had taught her, and it got me so nostalgic for jelly I was practically drooling!
It reminded me of the creamy Almond Agar-Agar desserts I used to eat as a kid (usually at parties), often with fruit cocktail, mangoes, or peaches. The Western version is sometimes also known as Milk Jellies, Jelly Fluff or Jello Whip (depending on whether the mixture is whisked before being left to set). I suppose it’s a little like blancmange, but without the cornflour, so it has a lighter and airier consistency. All versions include cream or milk in the recipe, with evaporated milk the more traditional of the two in the UK. I suspect the reason is down to cost, and the clue is in the name – Wartime Jelly.
Food was rationed in those dark times, and milk was scarce. However, it was possible to get tinned milk which is more economical, and lasts longer. Across the pond, it’s also been documented that gelatin was used in the US to “stretch rationed foods”, so perhaps it’s not surprising that jellies were as much a treat back then as they are now. Although here in this sceptred isle, I am not so sure about Colleen Moulding’s Carrot Fudge from “Frugal Recipes from Wartime Britain” which also contains gelatin. Then again, carrot cake is a lot yummier than it sounds! 😀
Most of the modern recipes I’ve come across do not list gelatin itself as one of the ingredients, but I really fancied a fusion of East and West, and had decided on layered mango jelly. Unfortunately, jelly crystals of that flavour are not easy to get hold of here; the ones I found online were instant set (at room temperature) which wouldn’t do at all because the jelly solution would need to boil, then cool before blending with milk (otherwise it would curdle)…And so it was that I ended up making my jelly from scratch.
The stars of the show:
• Evaporated Milk (Loving the tin’s retro design!)
• 2 Sachets of Gelatin*
• Mango Juice**
• Water
• Sugar
Also, basic arithmetic! LOL

Mix one packet of gelatin with freshly boiled water as per manufacturer’s instructions. Add mango juice in a quantity proportionate to amount of gelatin…again, related details can be found on the sachet/box/tub. Stir well, pour in mould, and refrigerate until set. This could take a couple of hours or more.
Reserve some of the evaporated milk and put it in a small pot.
Mix the next packet of gelatin with freshly boiled water, and add it to the rest of the evaporated milk and some mango juice (as before, milk and juice relative to amount of gelatin as per packet instructions). Stir well.
Quickly heat up the evaporated milk that’s in the pot and melt some sugar in it. It’s probably best to do this to taste as mango juice of different brands have varying sweetness. Add the sweetened milk to the rest of the mixture. Stir well, and pour over initial layer of jelly that’s set.
Pop the layered jelly in fridge to set for a few more hours, or better still, overnight.
*Can also be swopped with vegan gelatin, or agar-agar.
**Other types of fruit juice can be used, but nothing citrus as it may curdle the milk. My mango juice did have a bit of citric acid in it, but it must have been a small percentage as it didn’t affect the milk.
Here’s a tip – If any bubbles form, prick them with a toothpick or bamboo skewer. Make sure the tips are dry each time.
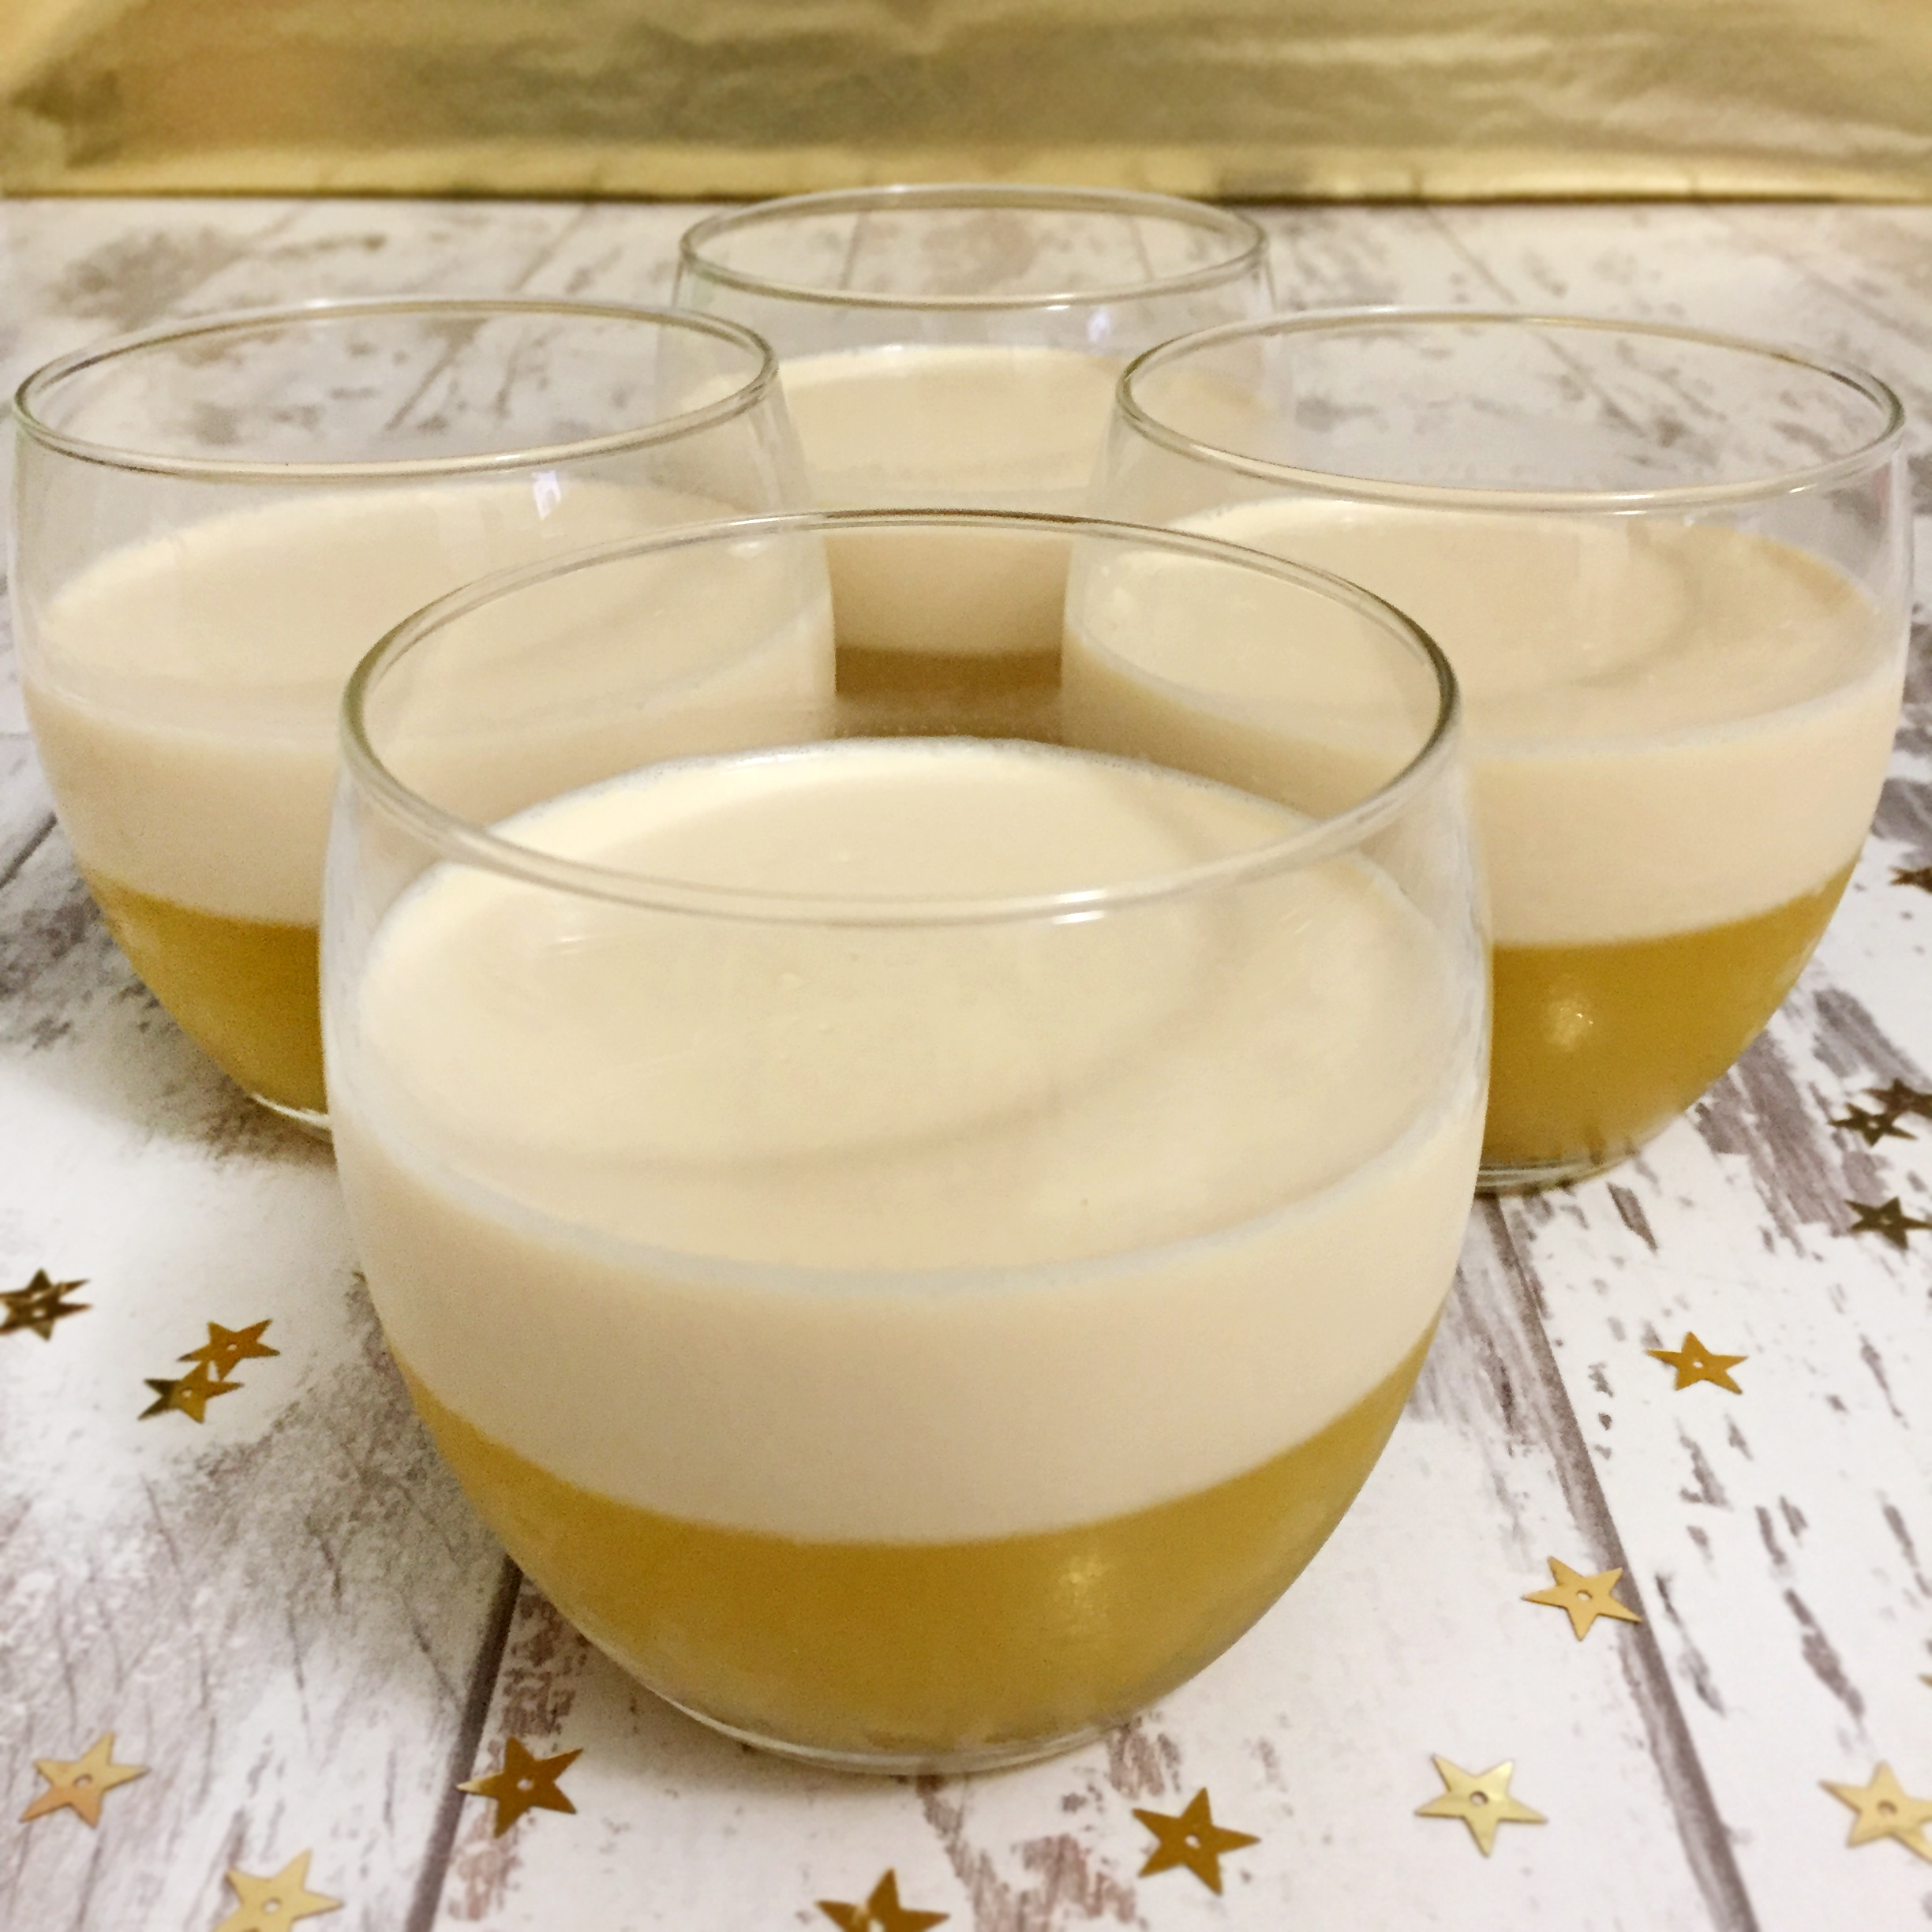
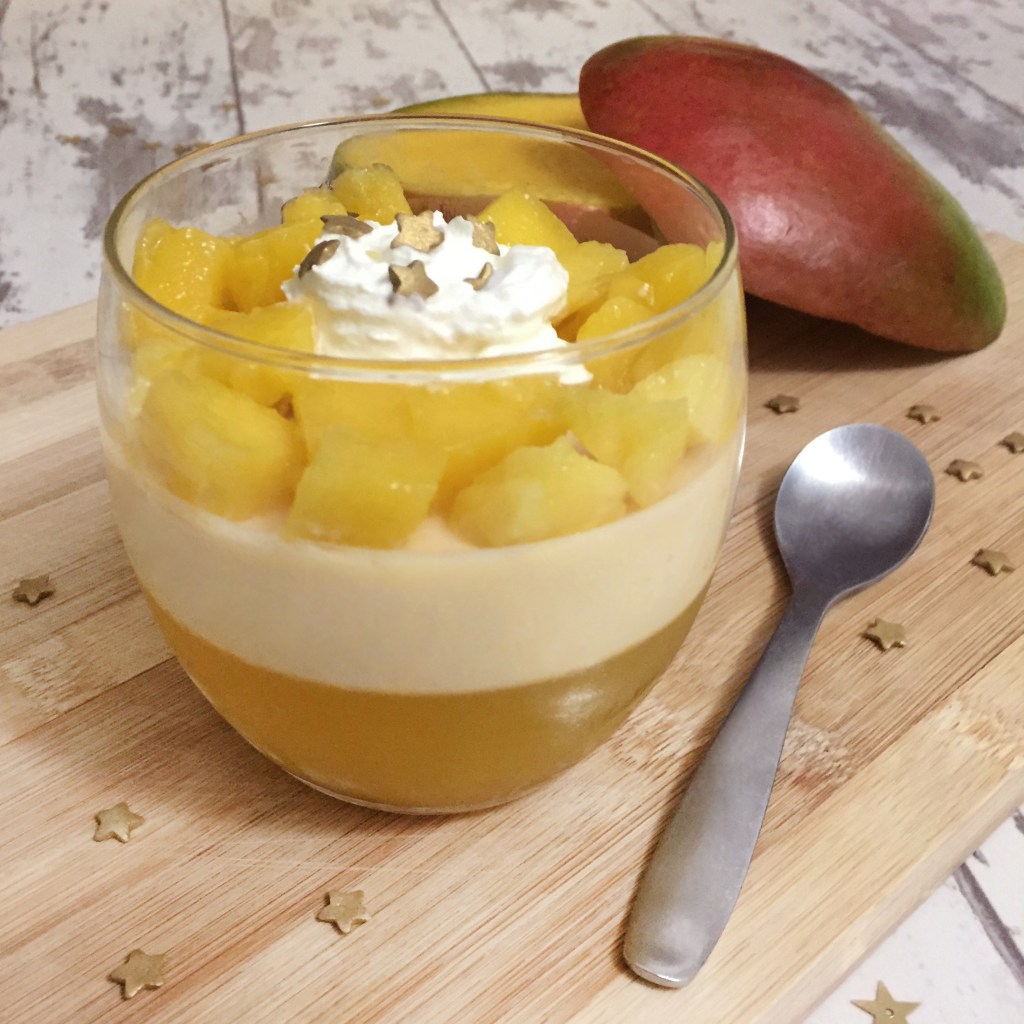
With the two sachets of gelatin, I made enough jelly to fill four wine tumblers, probably just under a couple of pints. It can be served with any topping of your choice – whipped cream, diced mango etc. – but seeing as we’re ushering in a new year, I sprinkled mine (see top pic) with spangly gold sugar stars! Hope your celebrations also went off with a great big shower of sparkles…I can still hear fireworks going off everywhere! May 2018 be full of wonderful times! 🙂
