

Happy Easter everyone! 🌷🌻🌼
The past few weeks have been hectic (what with juggling my main job, working on a new product for my shop, and my bestselling kit sold out again! 🎉), so I’m going to be honest and say it’s far too nice out there on this bank holiday weekend for me to be sat here indoors. ☀️ Time for a break, so I’m going to keep this post as short as I can…pretty sure many of you would agree! 😁
A couple of days ago, I dusted off my sewing machine (plus my rusty skills), and put a few easy sewing tutorials 🧵 to the test. Happily, I emerged unscathed and can now vouch for them. 👍
The headband project below is a pretty quick job that is suitable for beginners, and best of all, you might be able to use up any scrap material you have. However, I chose fabric with a spring theme as befitting a day that honours Ostara. 🐇
Anyhoooo, swiftly hopping on to how you can make this cute accessory…
EASTER HEADBAND
First of all, you’ll have to create a template for the bow using some paper. I recommend the method in this video, but feel free to vary the length or shape as you like.
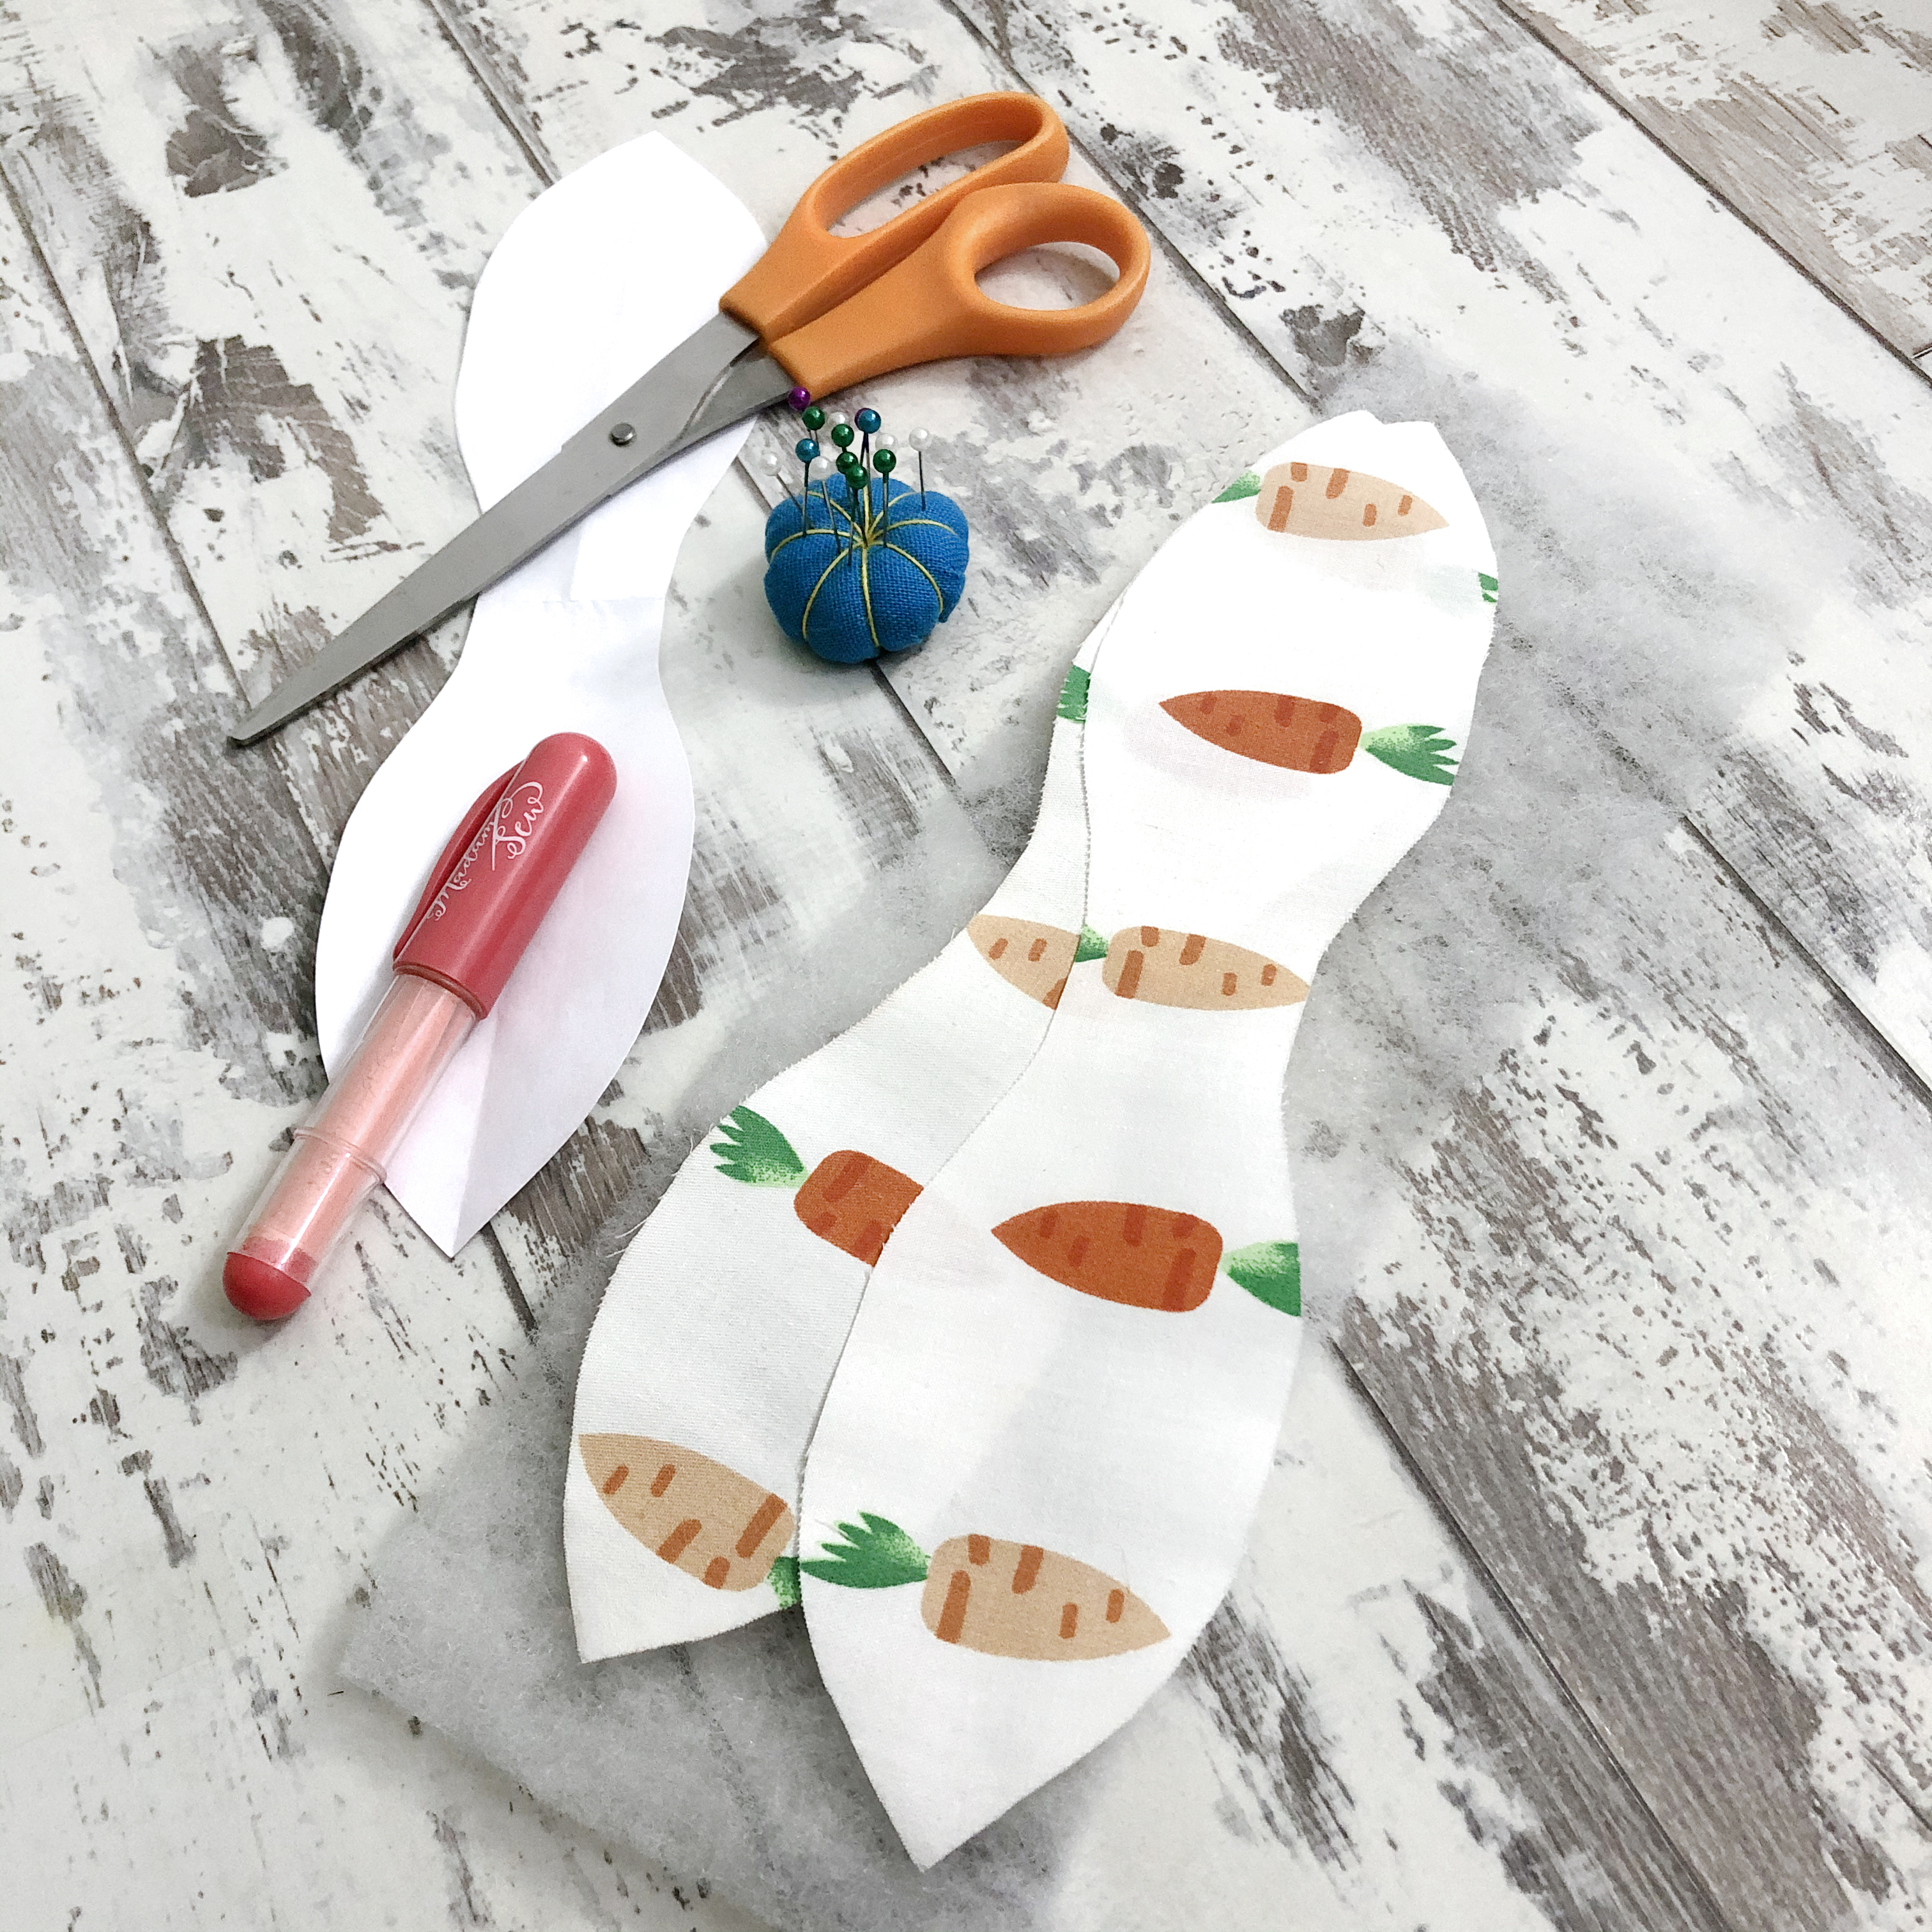
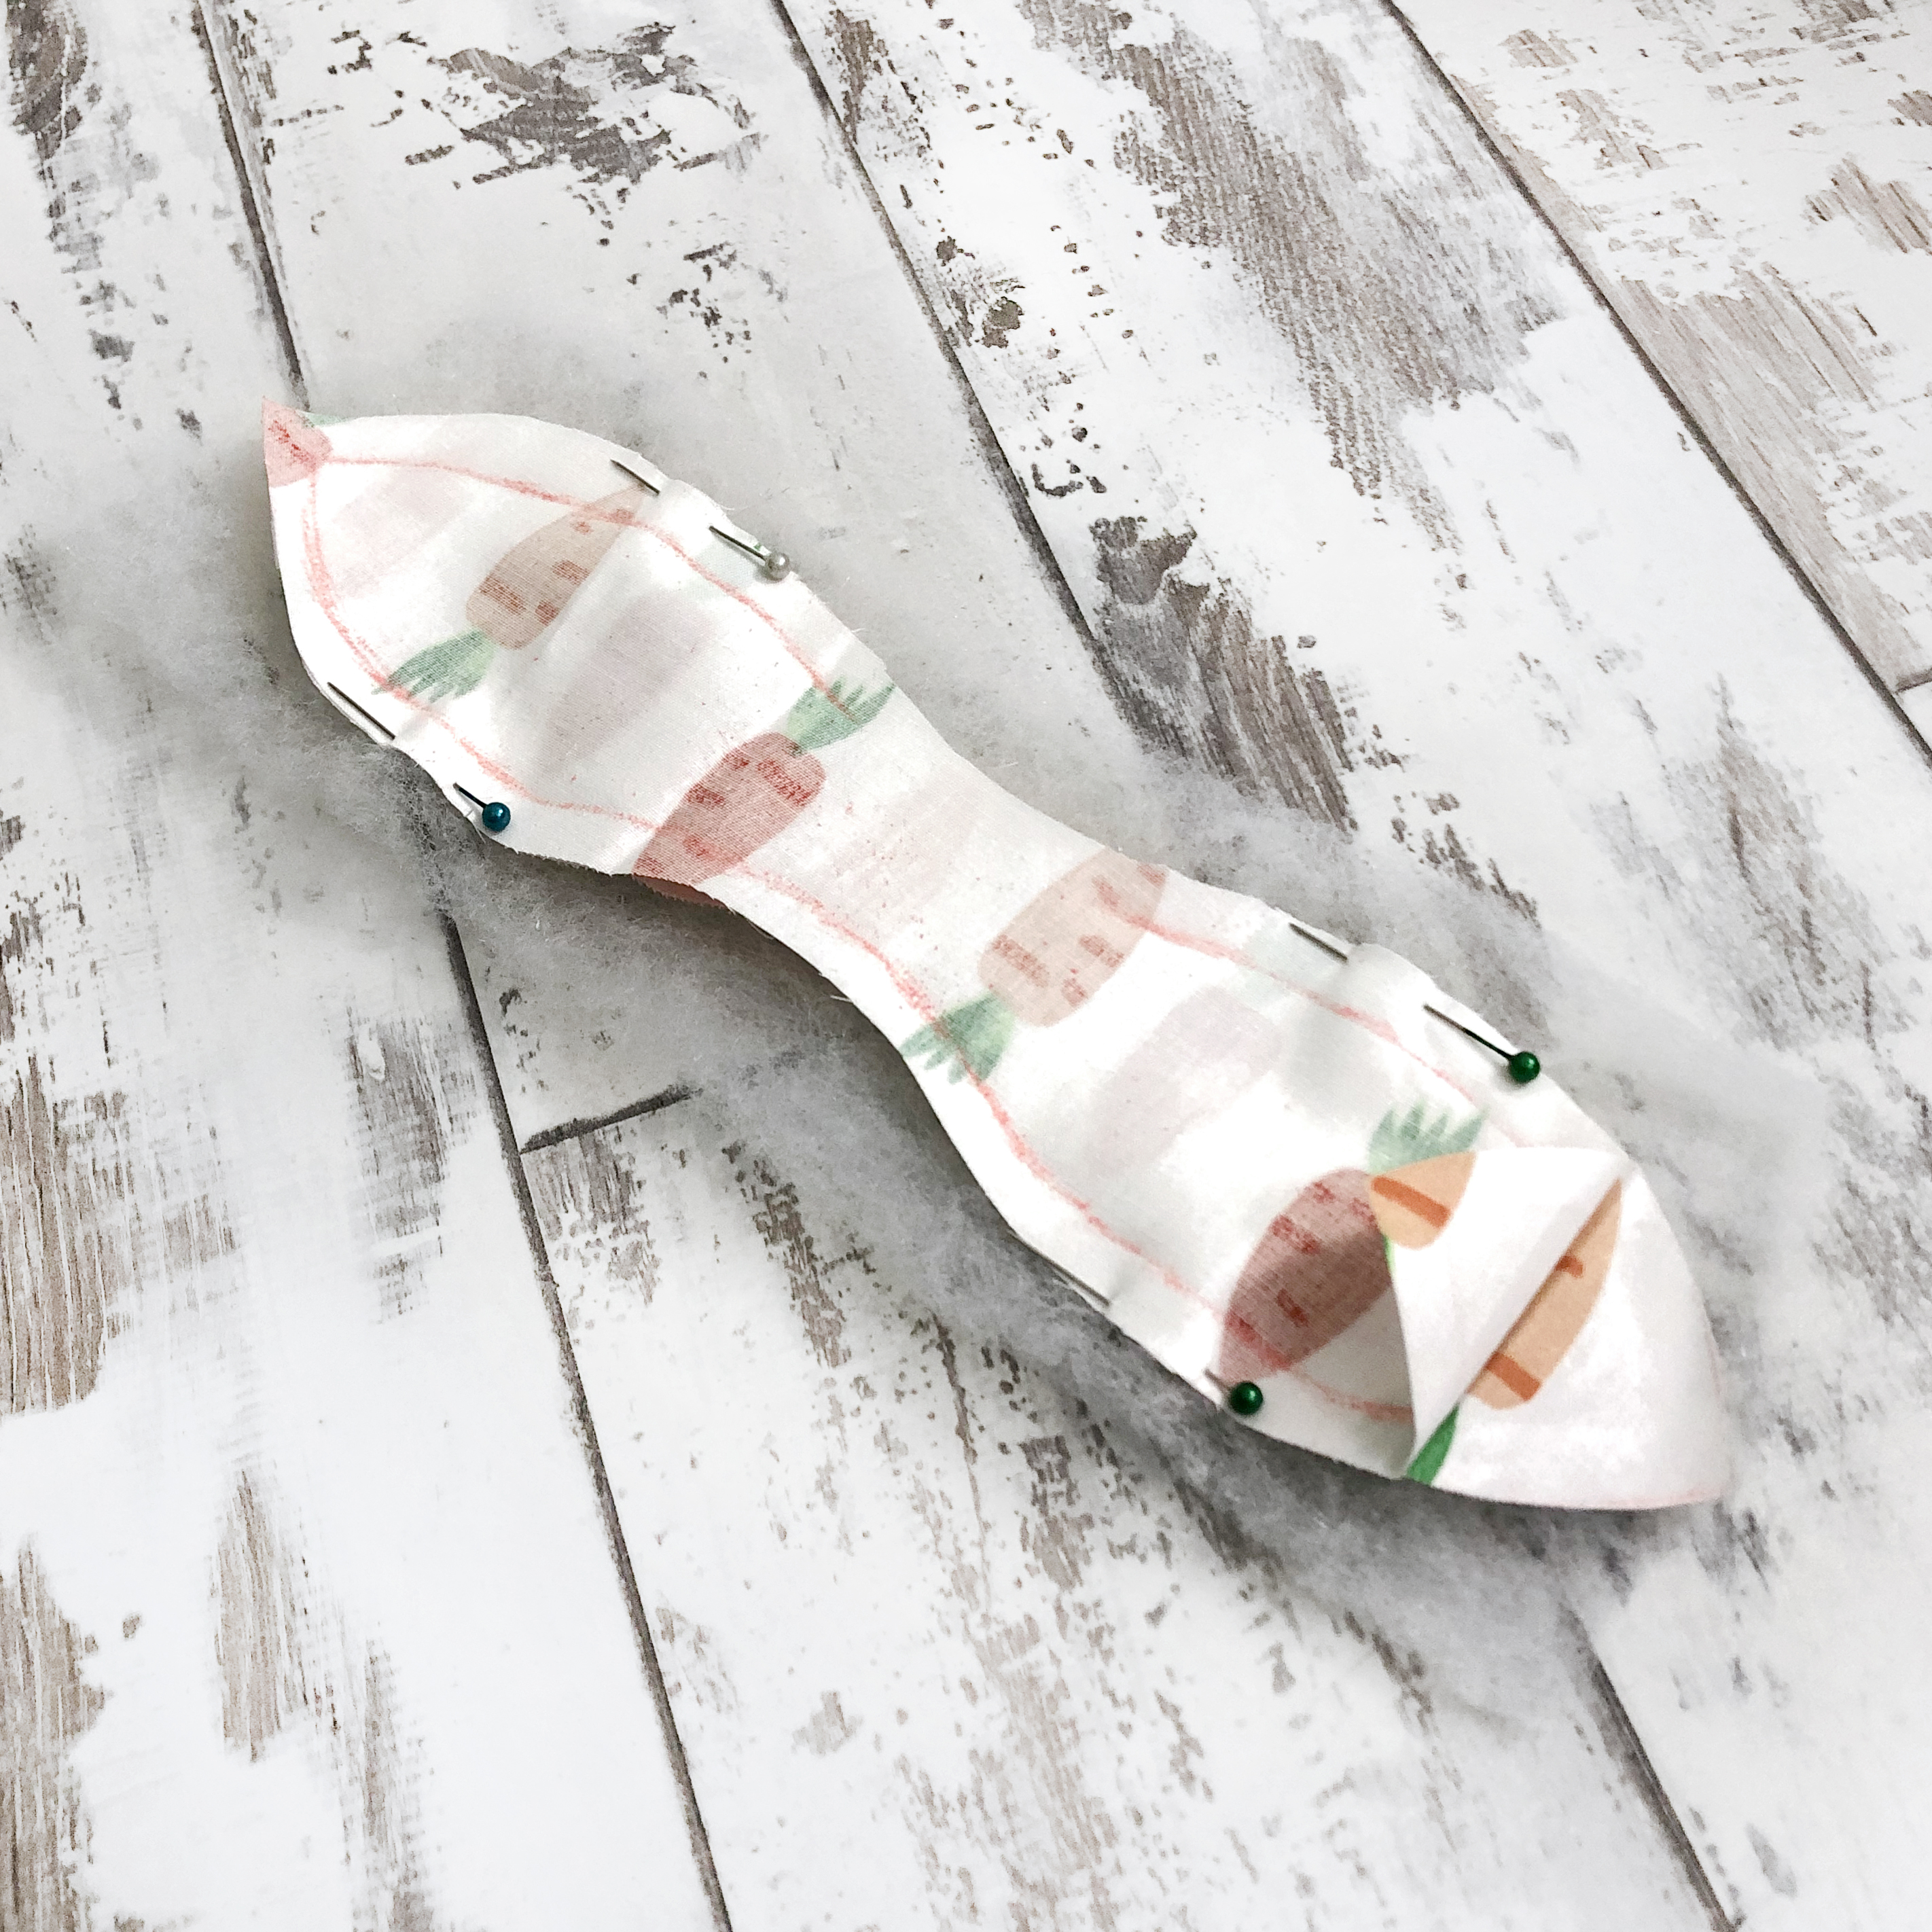
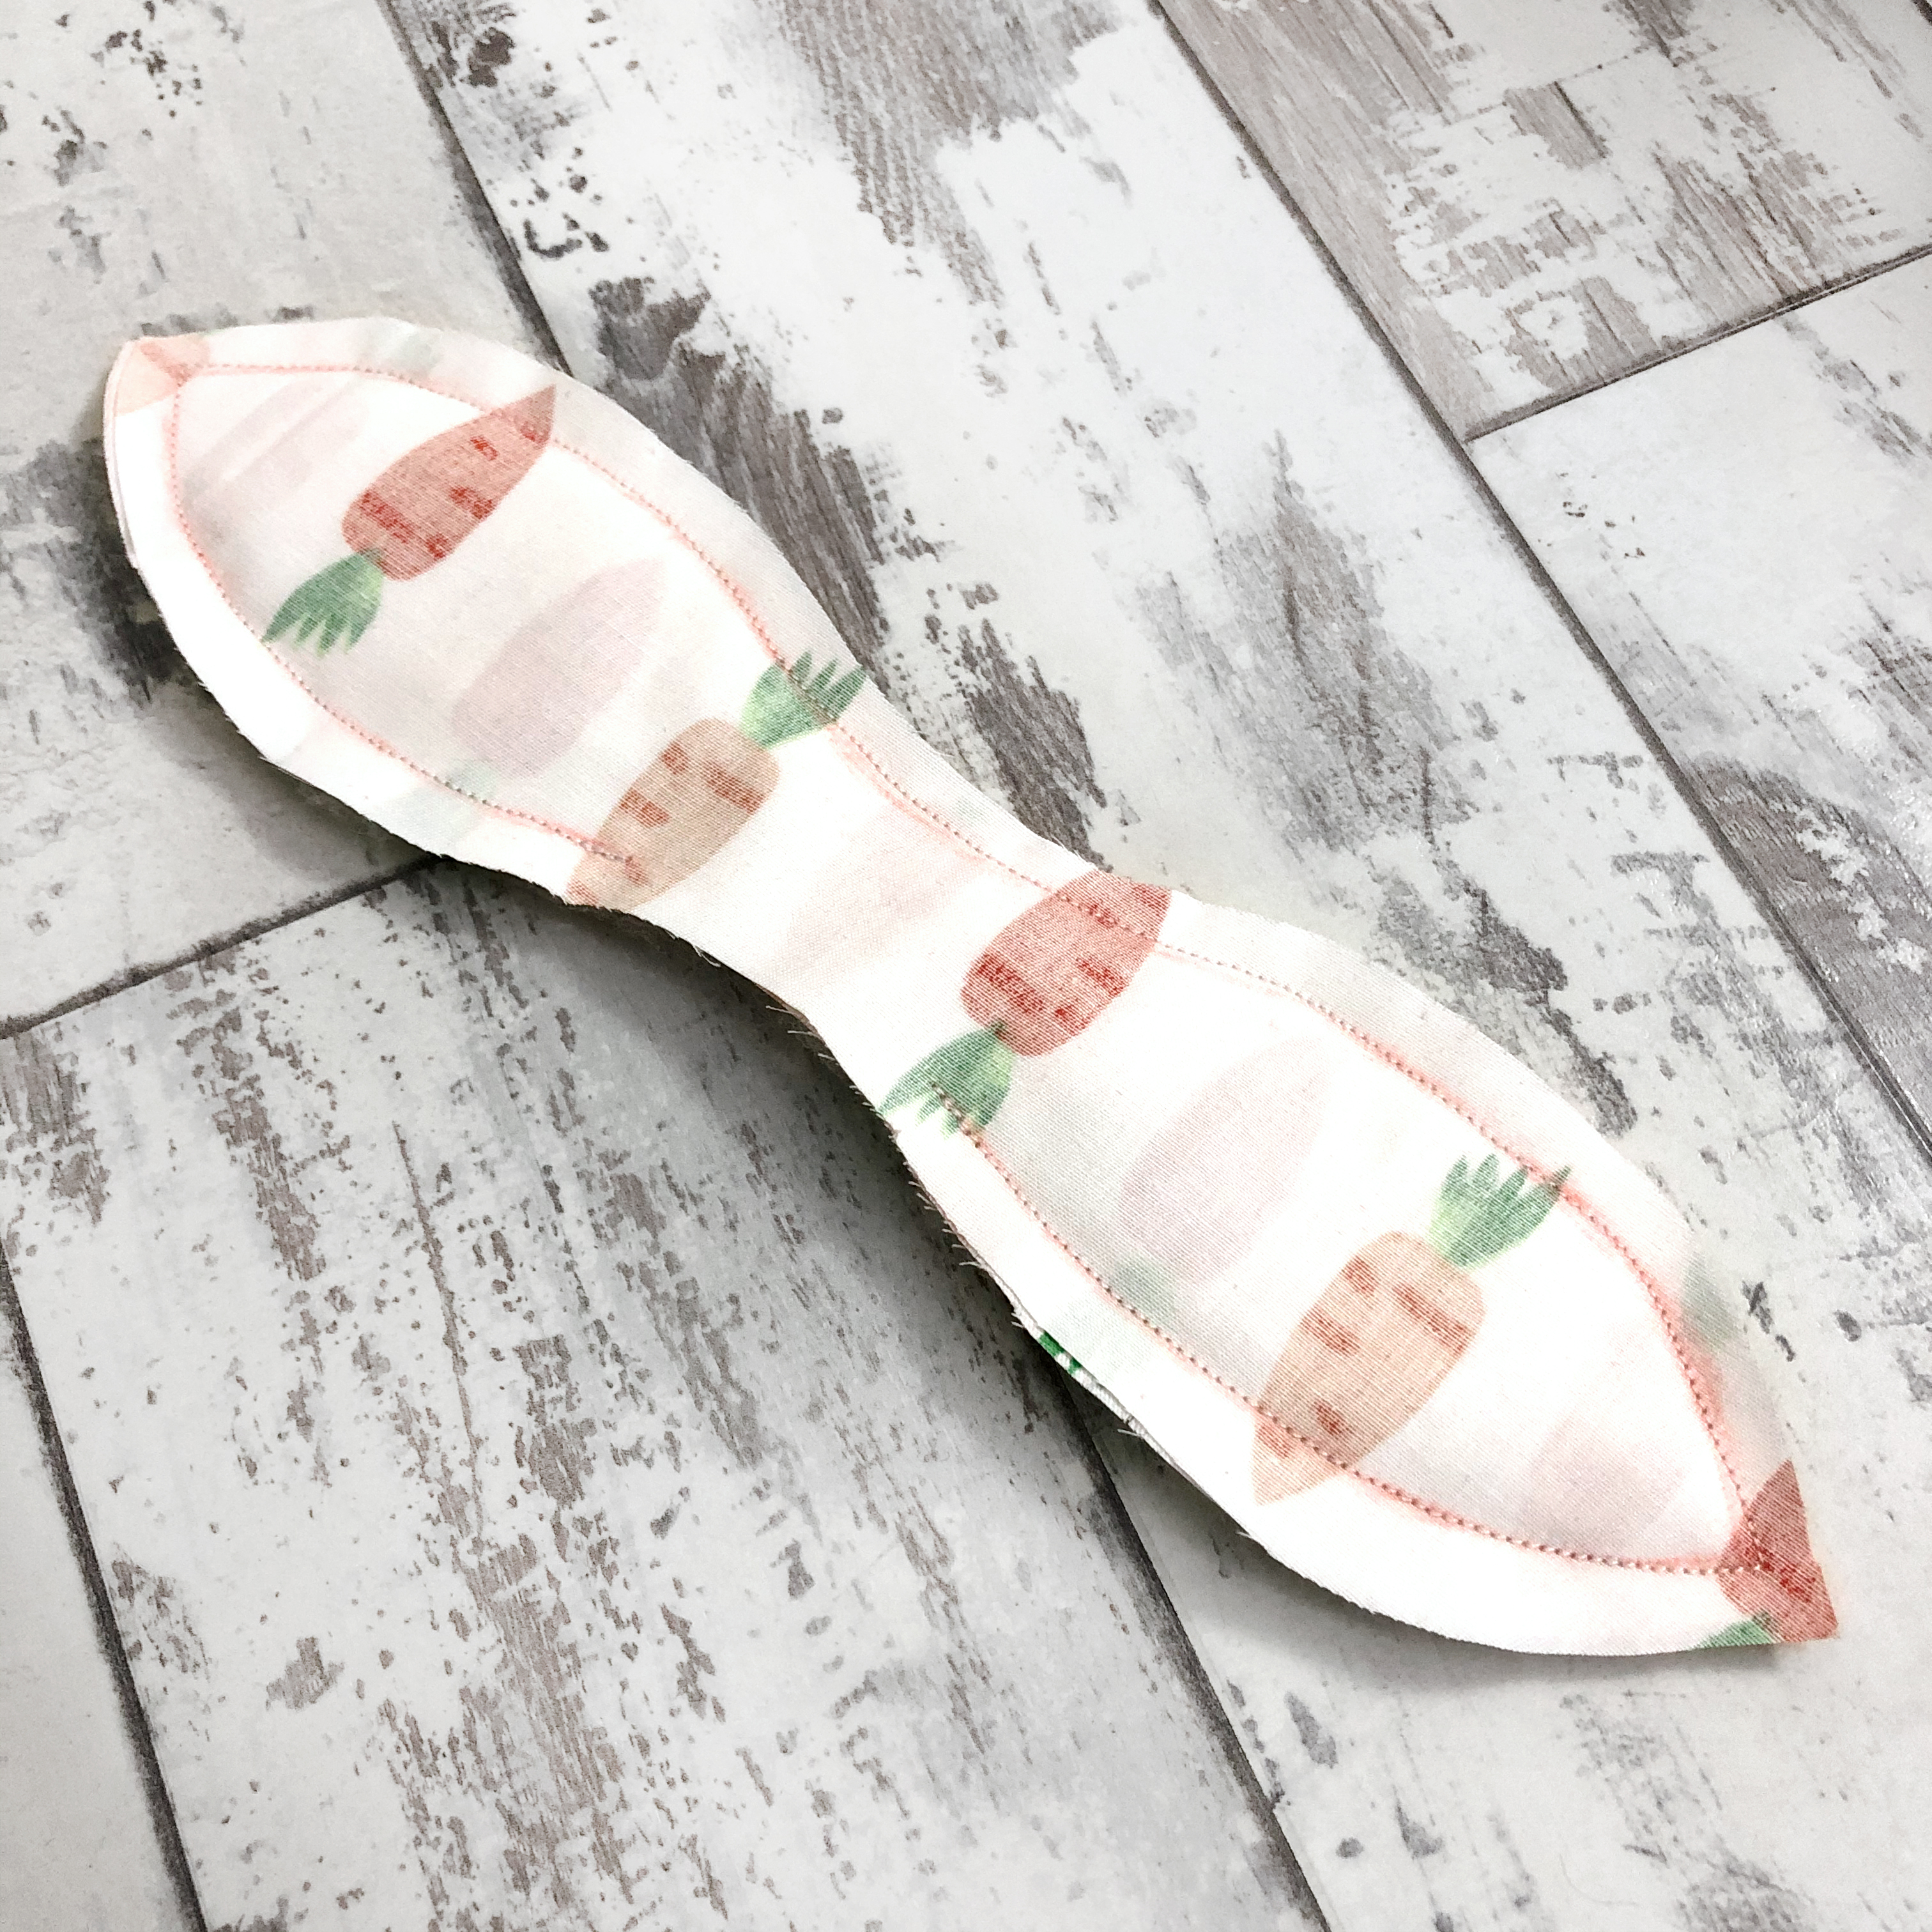
When you sew the edges together, take care to have quite a generous opening/gap if you make the “ears” quite large. Otherwise, you might struggle when it’s time to pull the fabric through in the last step.
Next, you will need some sort of stiff material between the pieces of fabric to keep the “bunny ears” of the bow from flopping over, especially if you make them longer than per the above-mentioned video.

I used a piece of cotton wadding cut off from a larger sheet (the kind of padding that can be found in a jewellery box), but thin foam/sponge sheets also work well, or bits of thin wire (as can be seen in this video).
Do bear in mind that you have to be very careful with the latter option when making this headband for children as there is a possibility the wire could poke through the fabric.
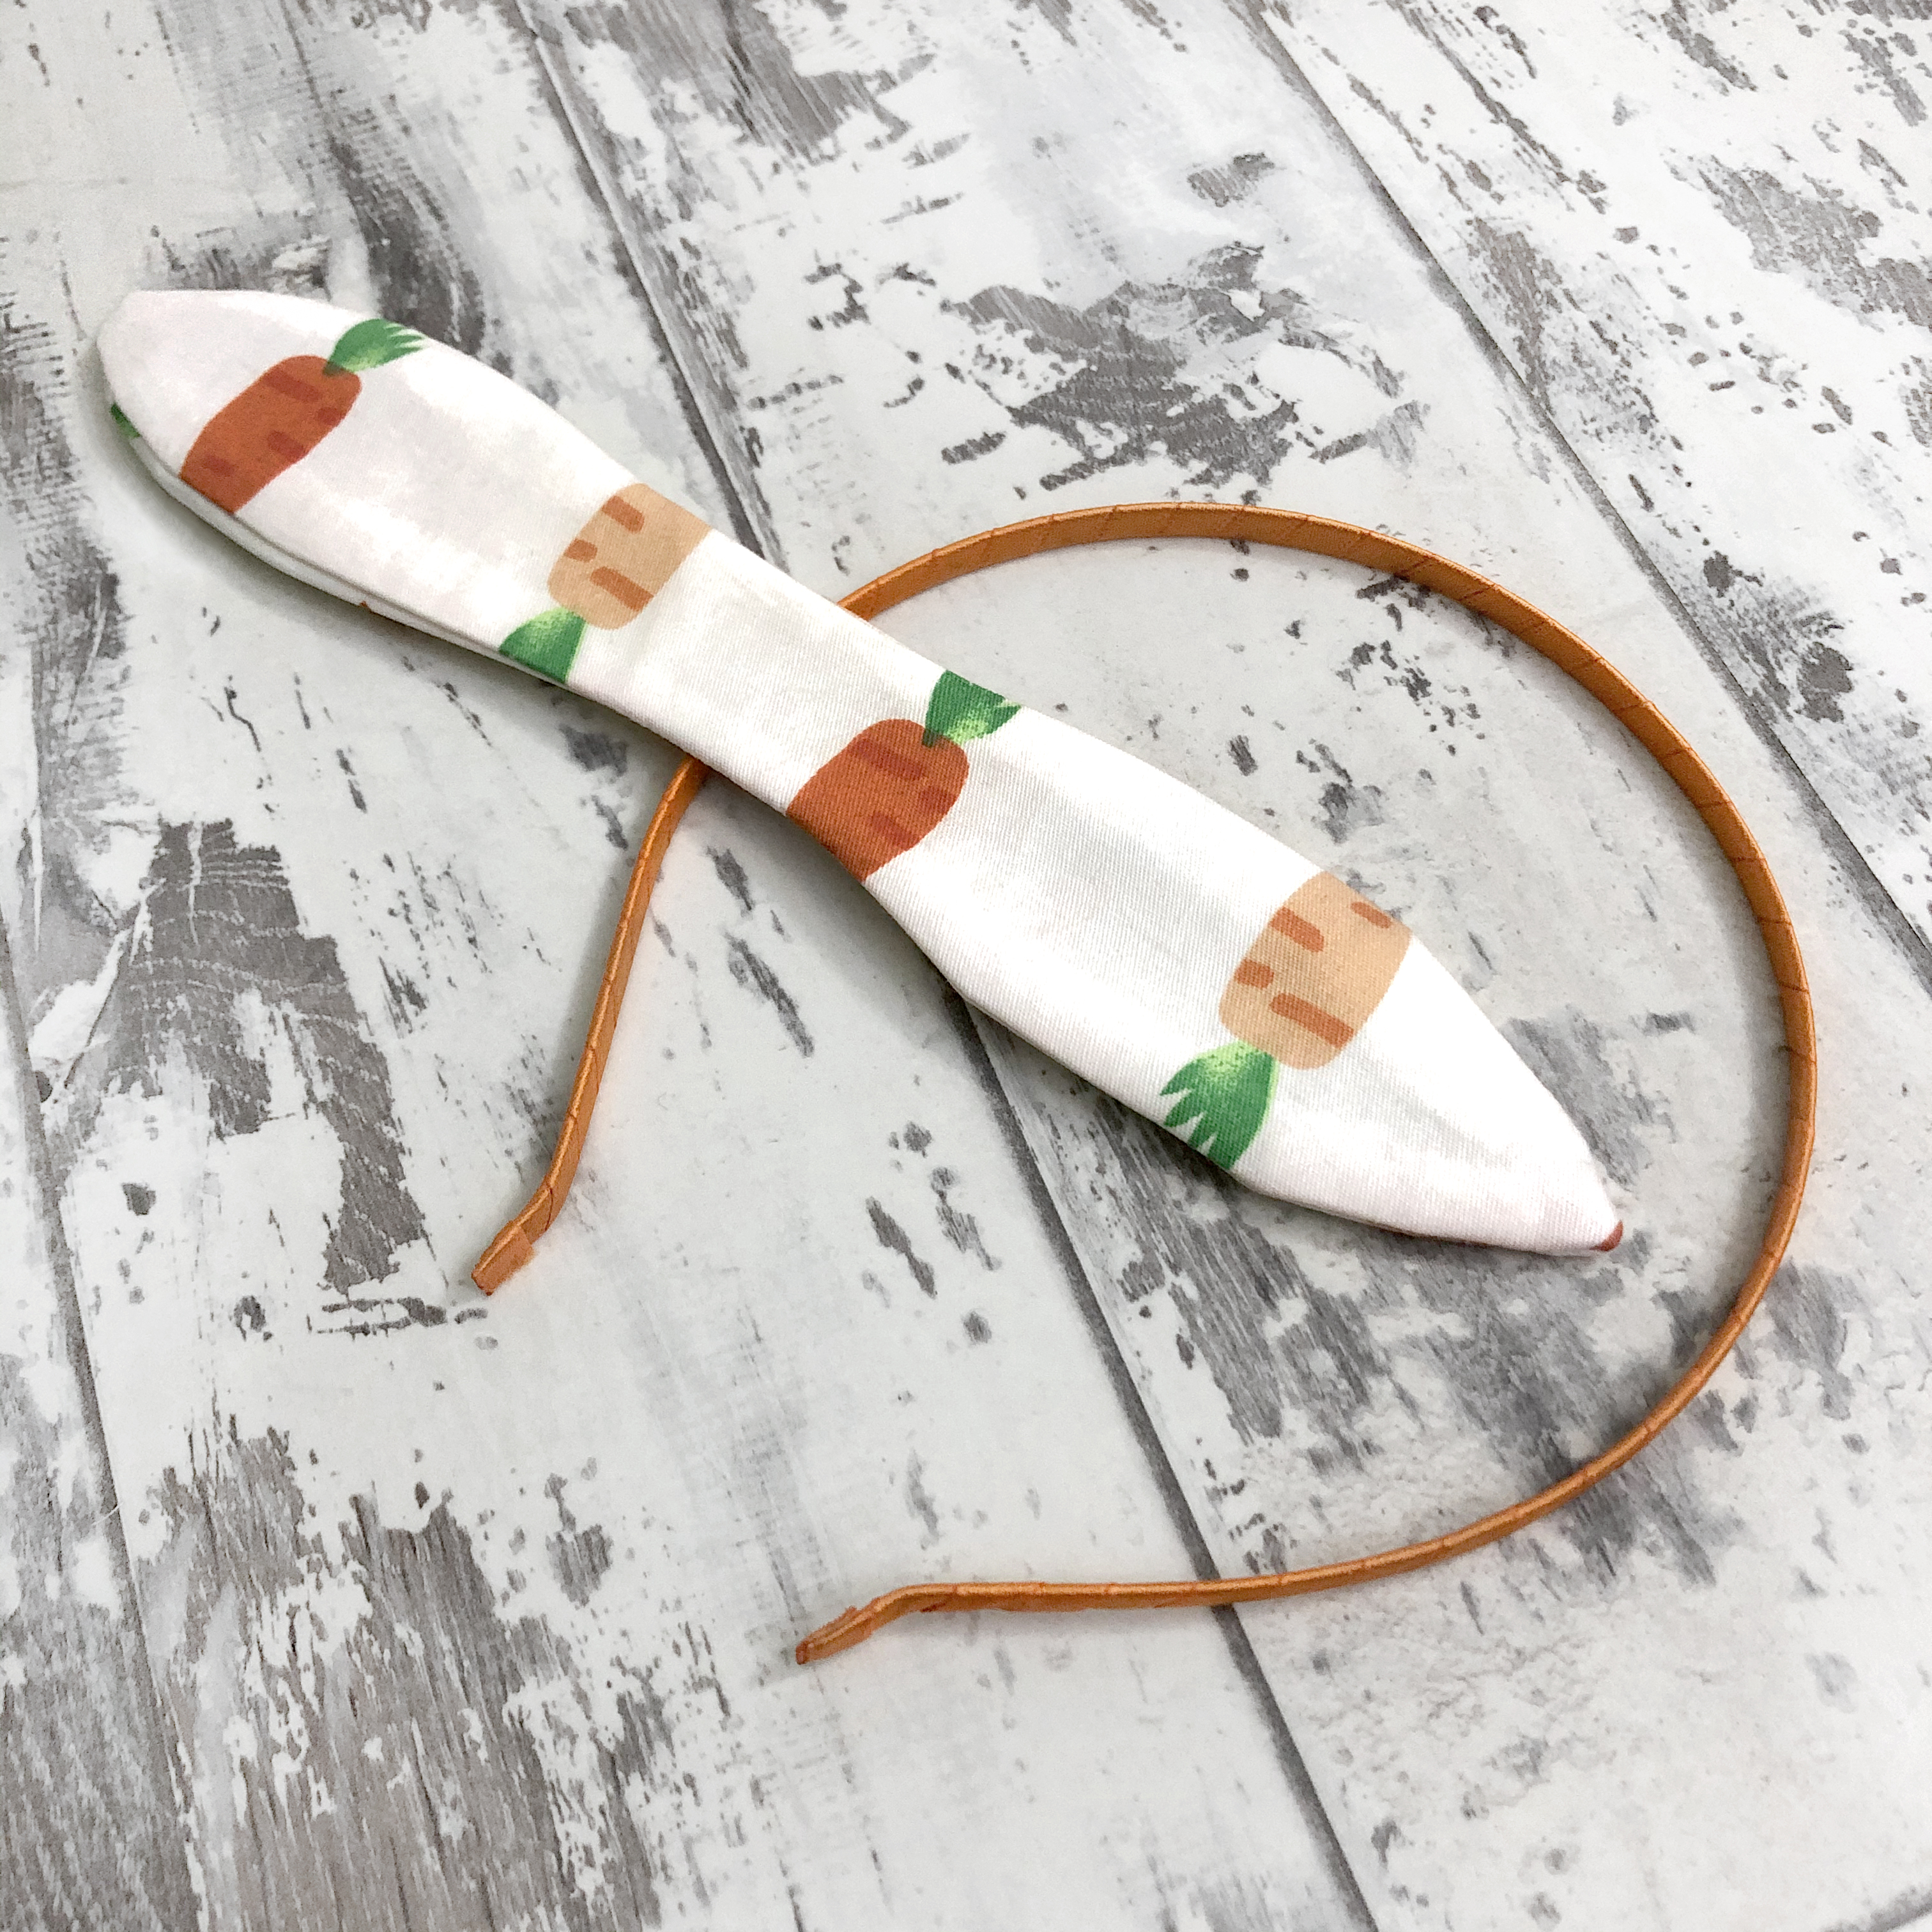
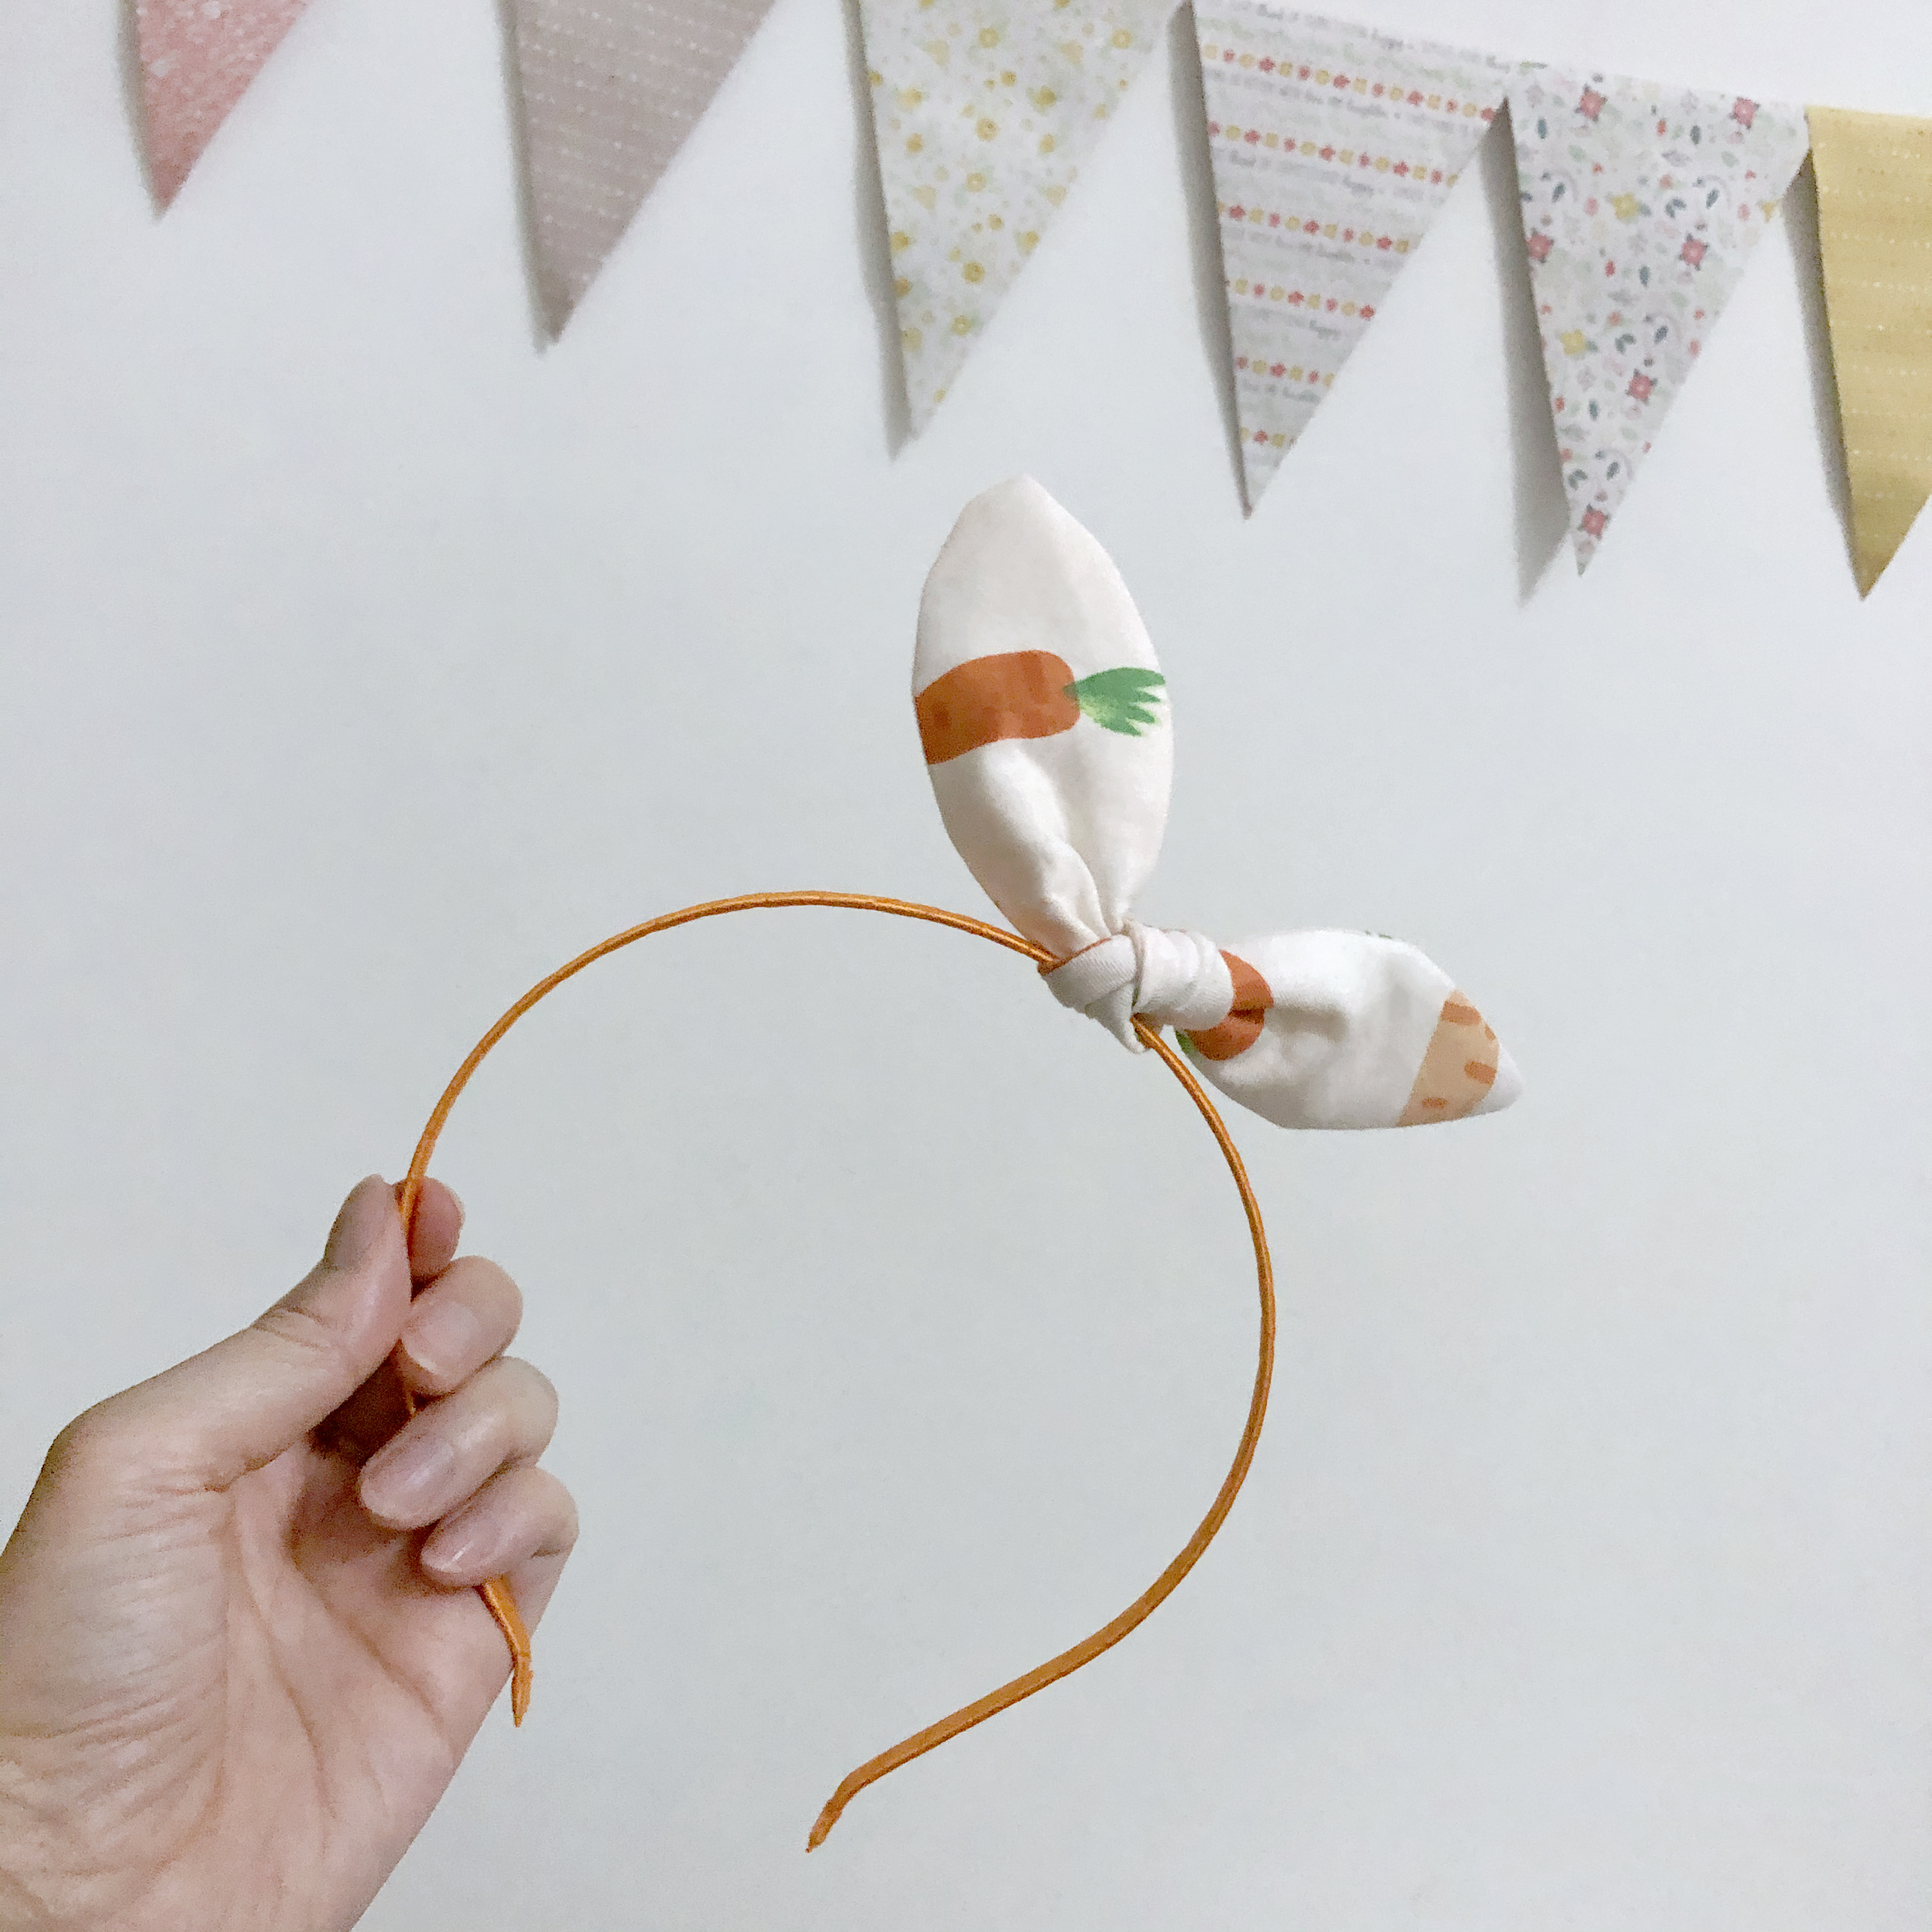
Of course it’s a lot simpler if like me, you already have a headband that matches your bow, but the above-mentioned videos do include other alternatives should you prefer to cover the band in fabric or ribbon. 🎀
You may also need a little glue to close the opening after you’ve turned the bow the right side out (even better, sew it shut with a slip stitch or ladder stitch), but here’s another confession…I didn’t bother! 😅 As you can see, the opening is completely unnoticeable once you’ve knotted the bow in place. I wouldn’t advise skipping this step for other projects though!


Making this headband is pretty good practice if you haven’t a lot of experience sewing curves. It was tricky to begin with, but I soon got the hang of it. Apart from that, this endeavour was basically a walk in the park. Speaking of which…
The lovely sunshine outside has got me so egg-cited! With an assortment of 🍫 chocolate treats, bright flowers to prettify our home (set on a shelf our fur baby 🐱 can’t get to because Chrysanthemums are toxic to cats!), and a massive lamb joint ready for roasting, we’re all set for Easter. 🐣 It’s getting breezy out there, but now that I have a new headband, I’m sure I’ll have a good hare day no matter what! 🌬️🐰
