
Gong Xi Fa Cai! 恭喜发财! May the Year of the Ox 🐂 bring you much good fortune! 🍊
Although the Lunar New Year is celebrated in many cultures, it is possibly the biggest event on the Chinese calendar, with 15 whole days devoted to it.
Apart from visiting friends and family, the highlights of this festival include the new clothes you get to wear, the delicious food — from pineapple tarts to deep fried battered Nian Gao, colourful Yusheng to braised abalone — and (who could forget?!) the hongbaos 🧧 — gift money in red packets/envelopes that kids (and unmarried adults) receive.
I have very fond childhood memories of stuffing my pockets full of sweets and treats as I traipsed along with my family from one neighbour’s home to another, but the Chinese New Year vibe sets in long before the revelry begins, as soon as the first decorations are put up. 🏮
You can of course easily buy these CNY ornaments, but homemade ones are more unique and meaningful. Plus, you can get the little ones involved!
PAPER PEONIES
If you didn’t already know, red symbolises luck to the Chinese, which is why it is ubiquitous in so much of our decor; and gold (unsurprisingly) represents wealth, another running theme on this special occasion. Since peonies 🌺 also embody prosperity (as well as beauty and honour), I thought they’d make perfect table arrangements for this time of year, especially in those auspicious colours.
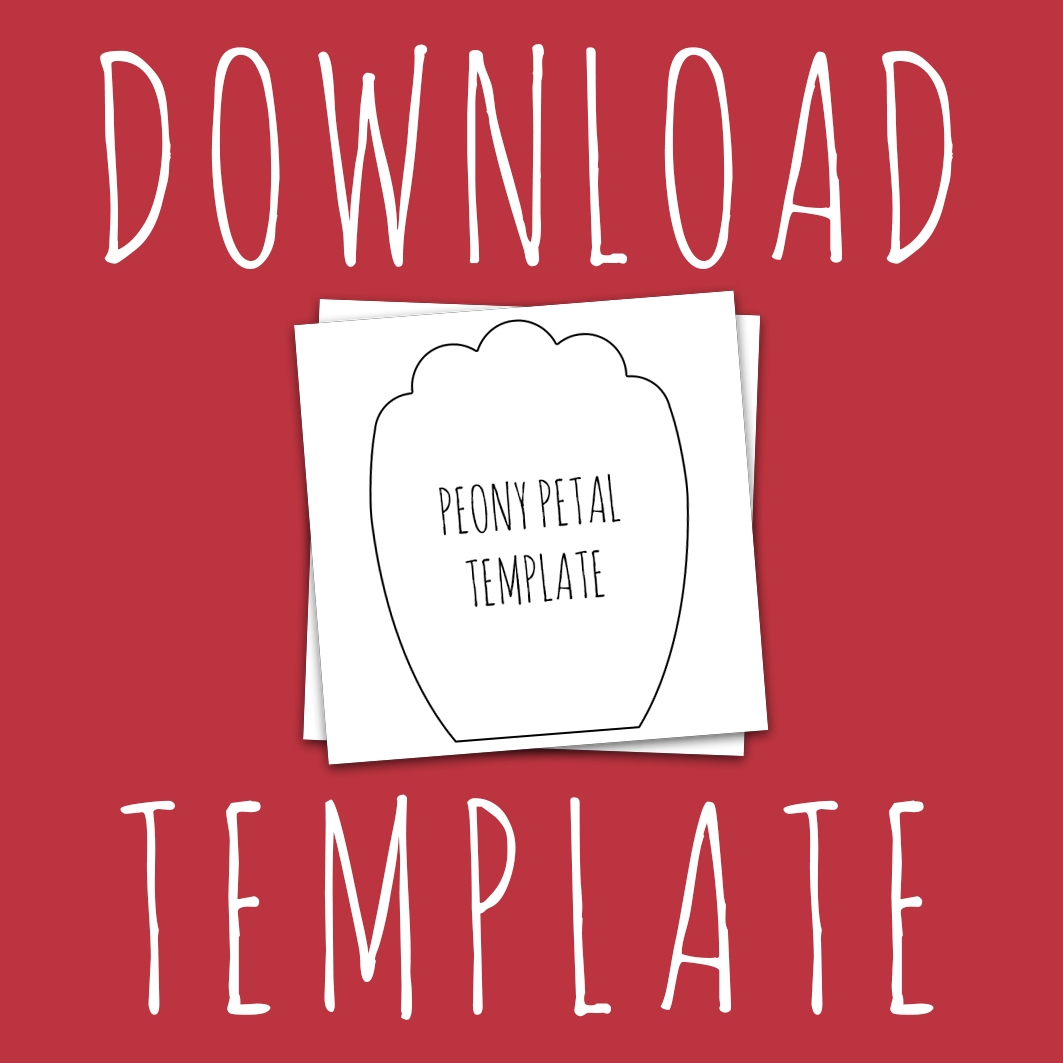

Start with a petal template which you can either draw freehand, or download from here. The petal on my PDF is 6.5cm by 8.5cm but if you want a smaller bloom, simply reduce the size when you send it to print. I set mine at 60% which brought dimensions down to roughly 4cm by 5cm.
Using the template, trace the petal on some red card. If you fold the cards, it’ll save time when you cut out the petals.
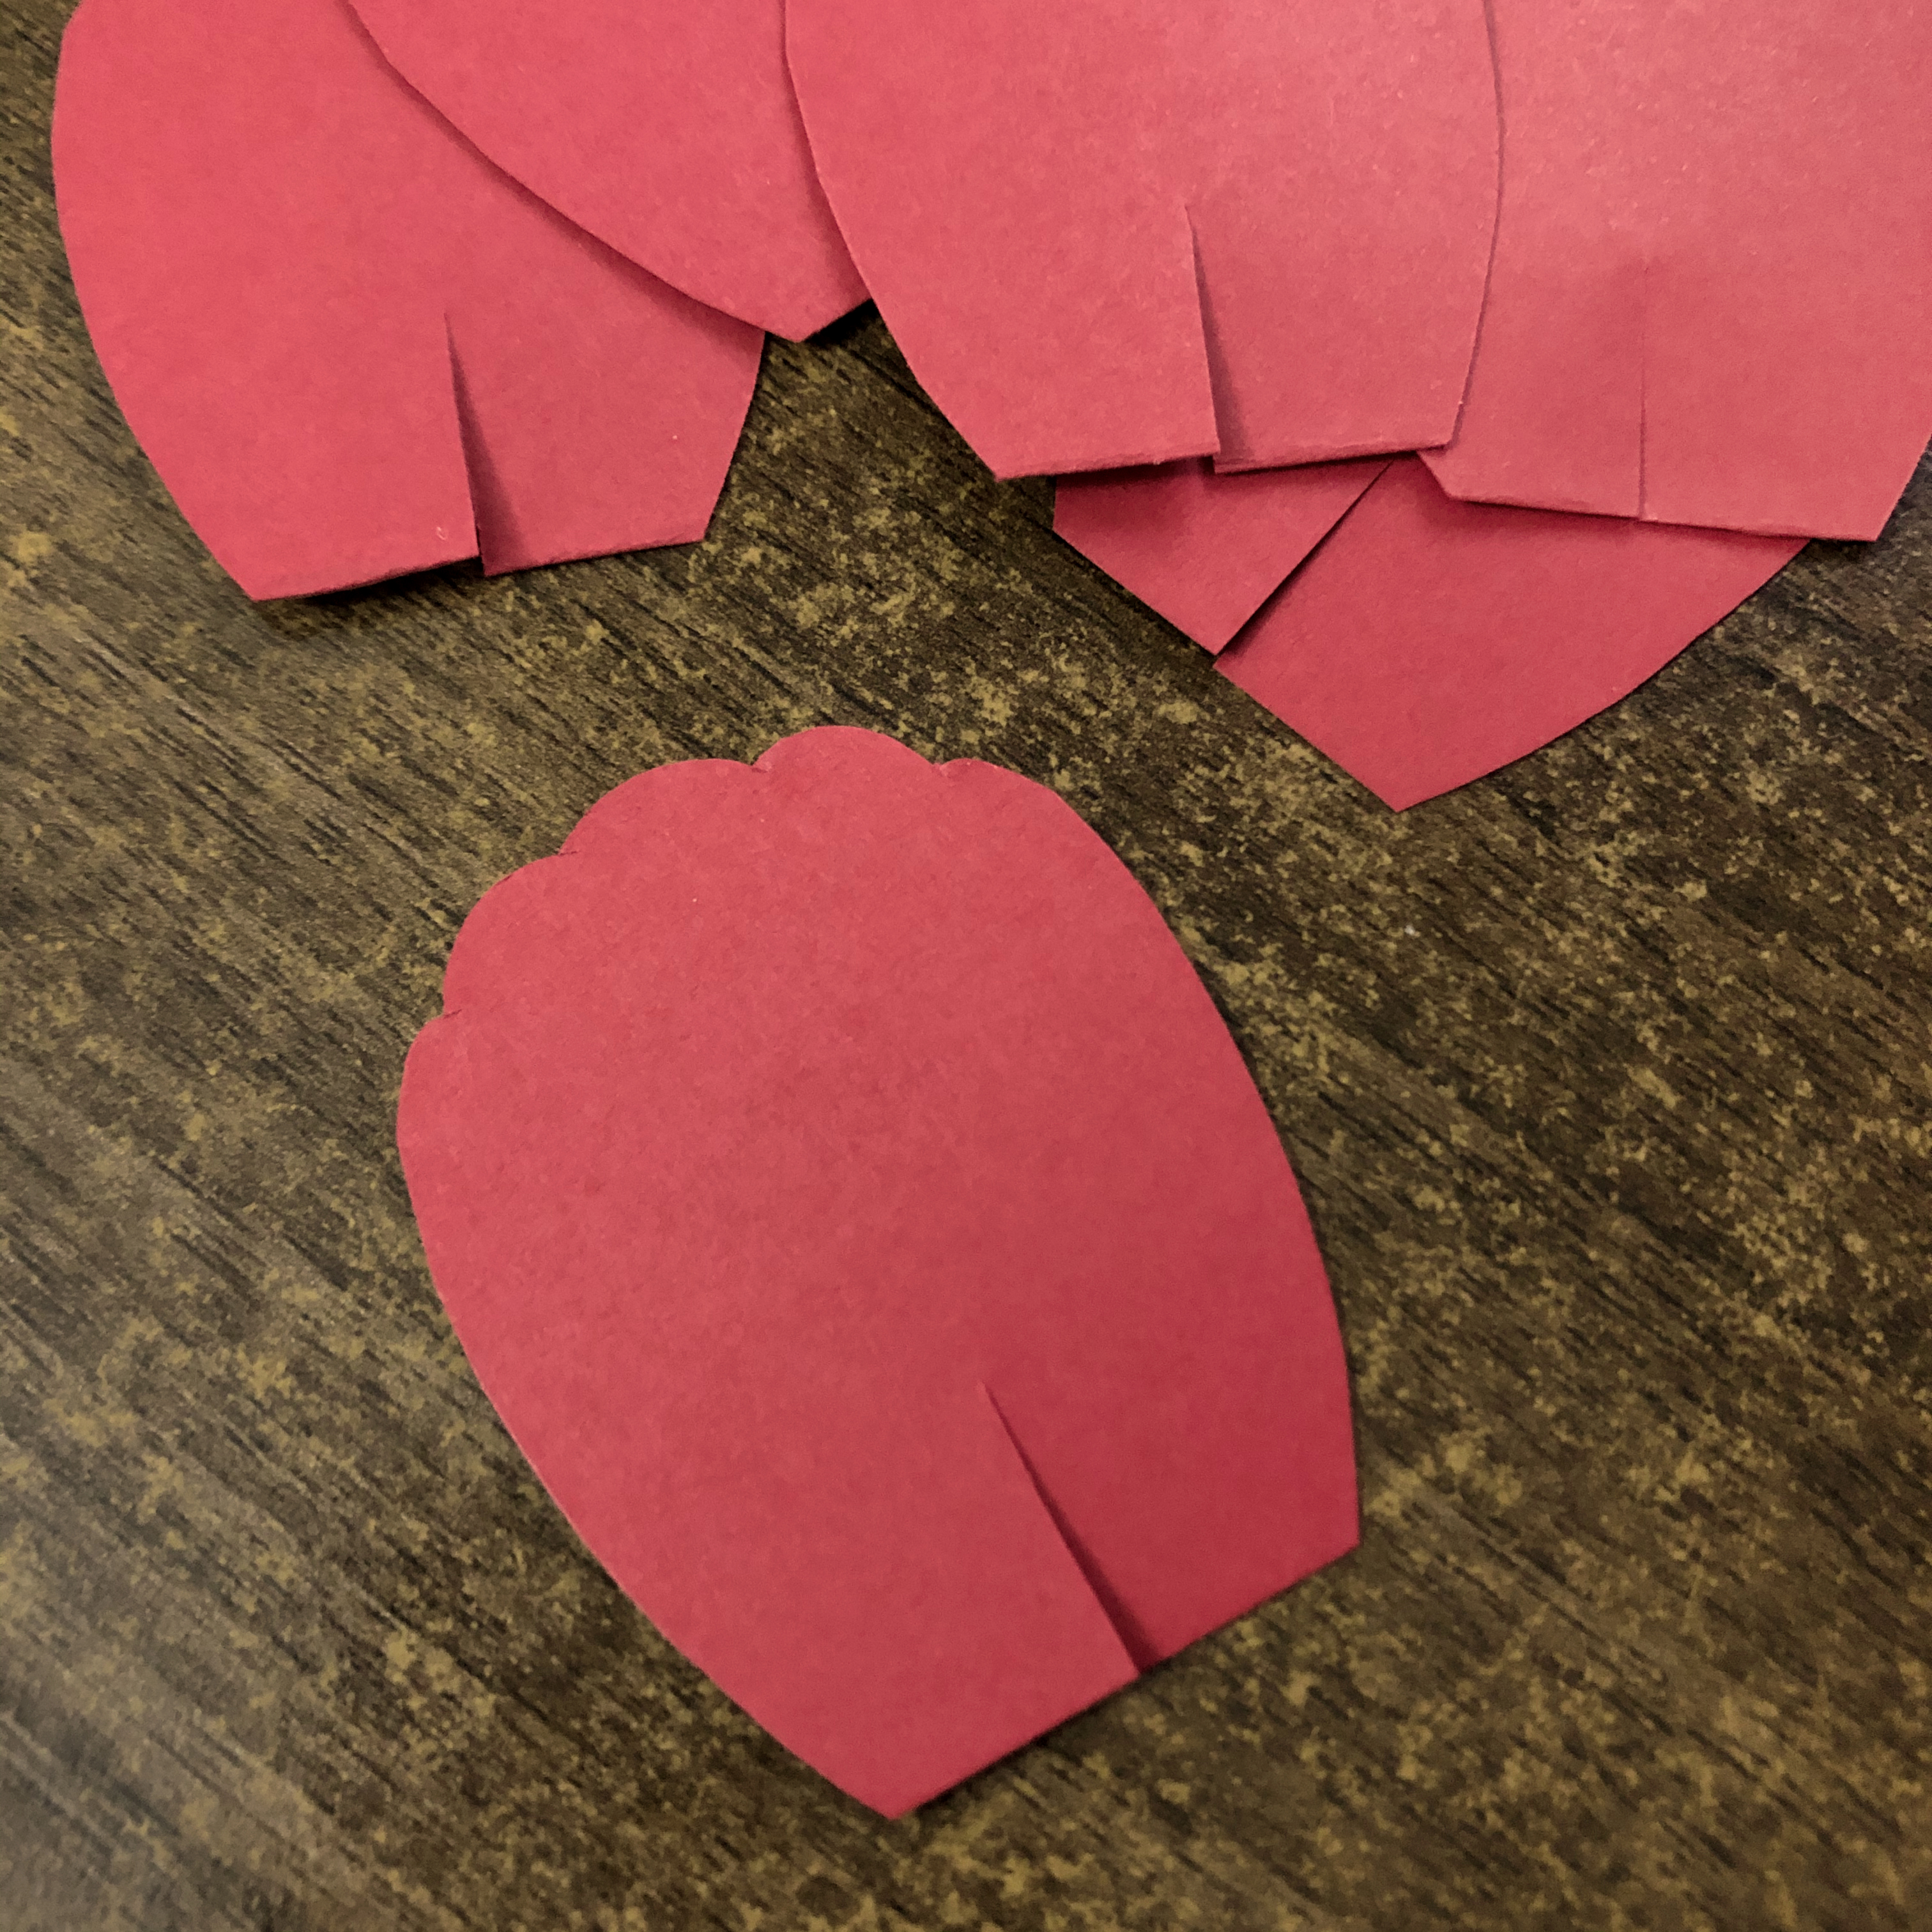
When you’ve got all the petals you need (12 per peony), cut a slit ✂️ about a third of the way up the middle of each petal.
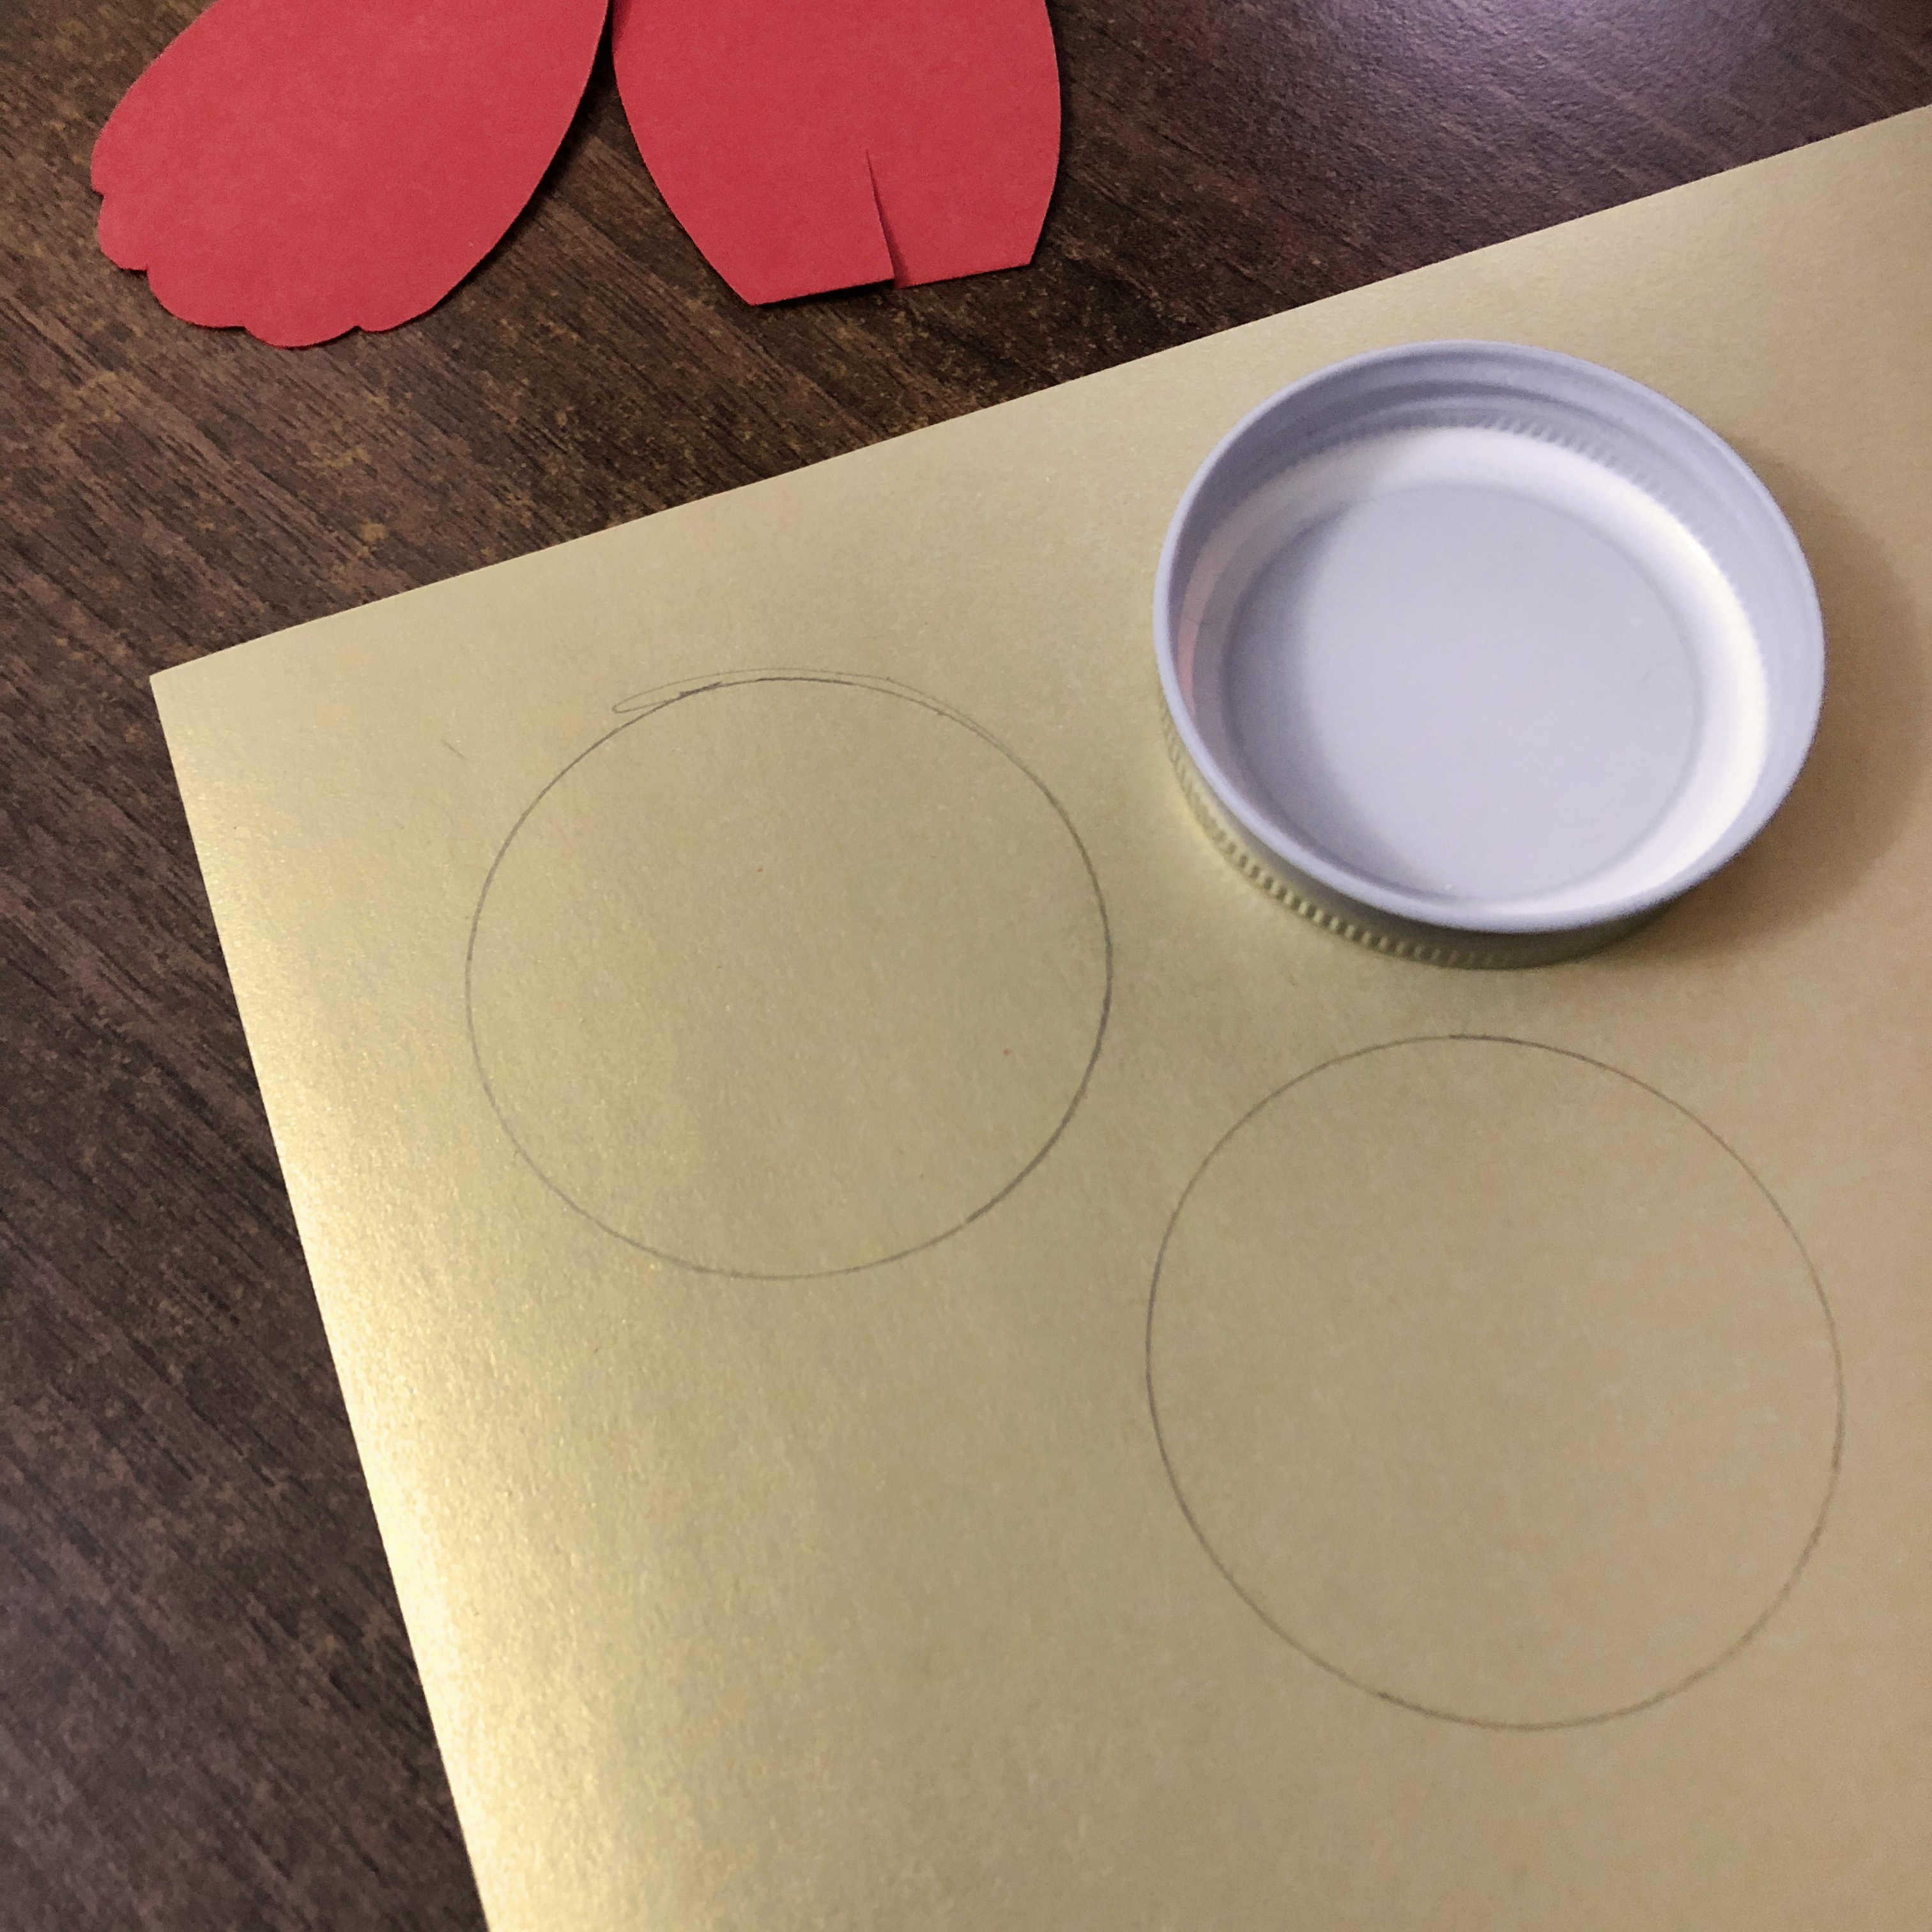
Next, you’ll need to create a base for the blooms. I didn’t bother with a circle-cutter as there’s no need to be precise. The petals will cover most of the base anyway, so I just used a small jar lid that’s about two inches across.

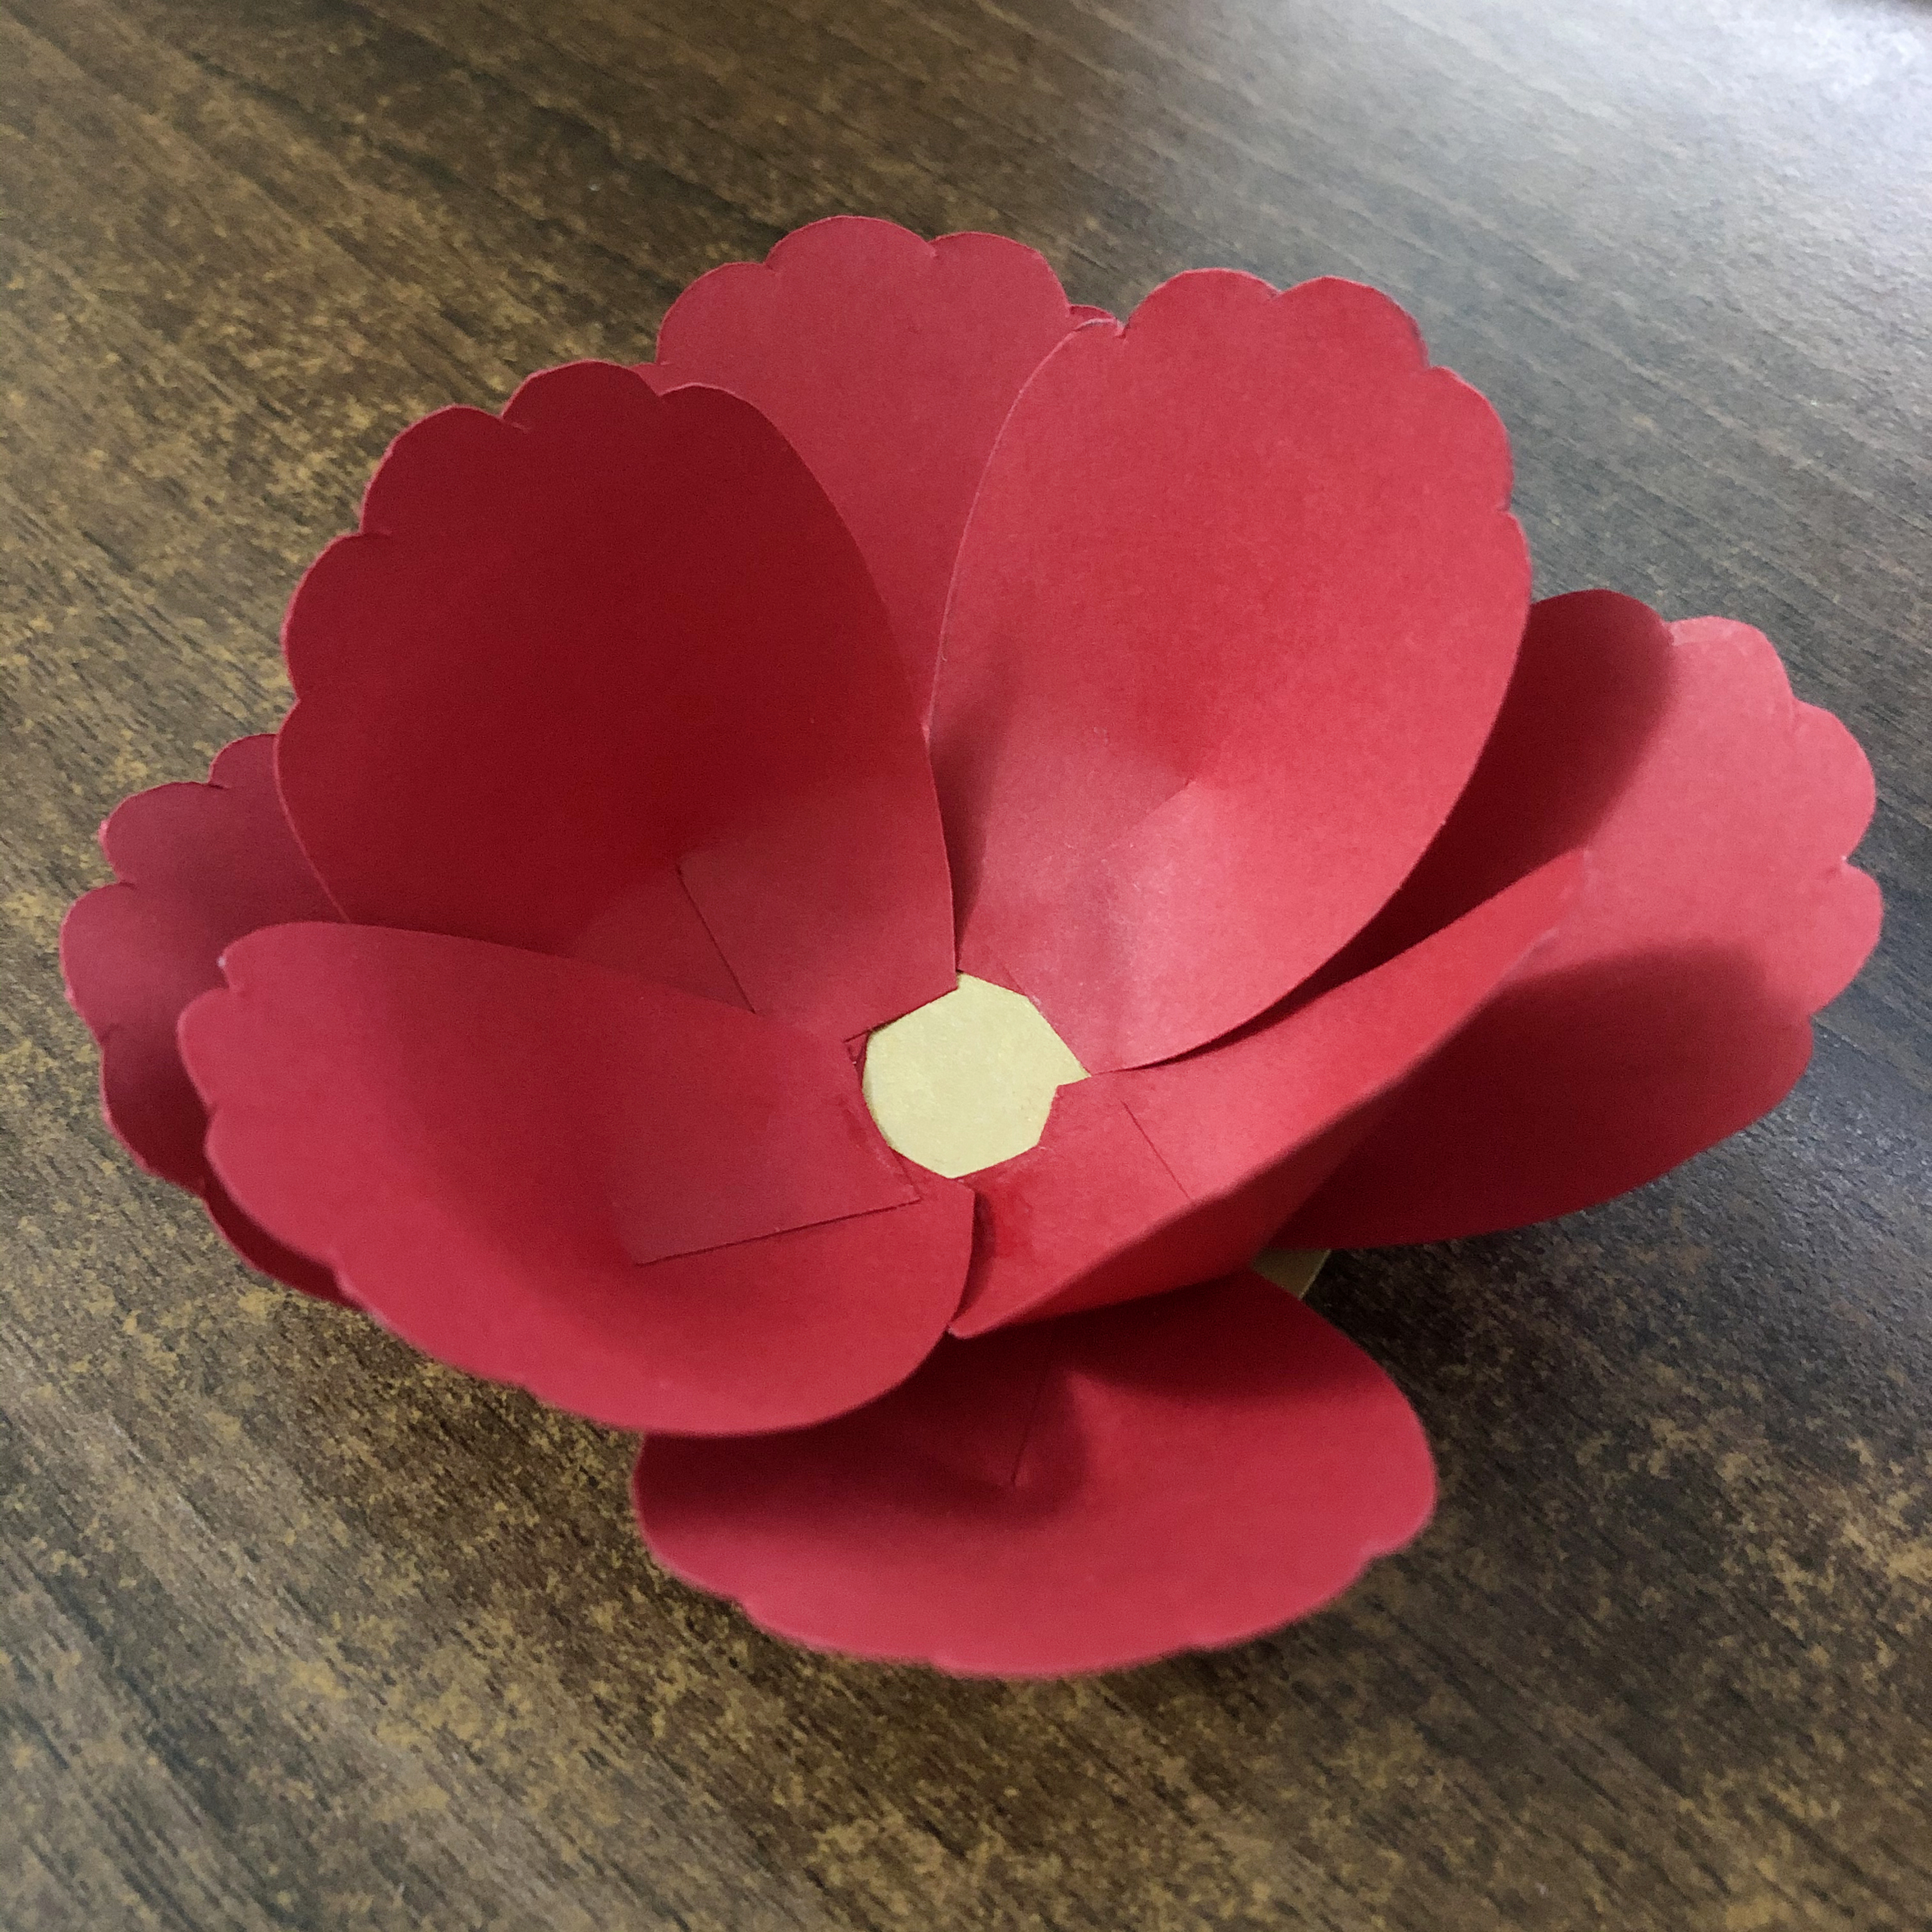
Now, time to give the petals the 3D effect. Simply overlap the flaps on either side of the bottom slit and stick them together with some glue.
Once dry, glue the petals in layers on the circular base, leaving room in the centre for the stamen/pistil.
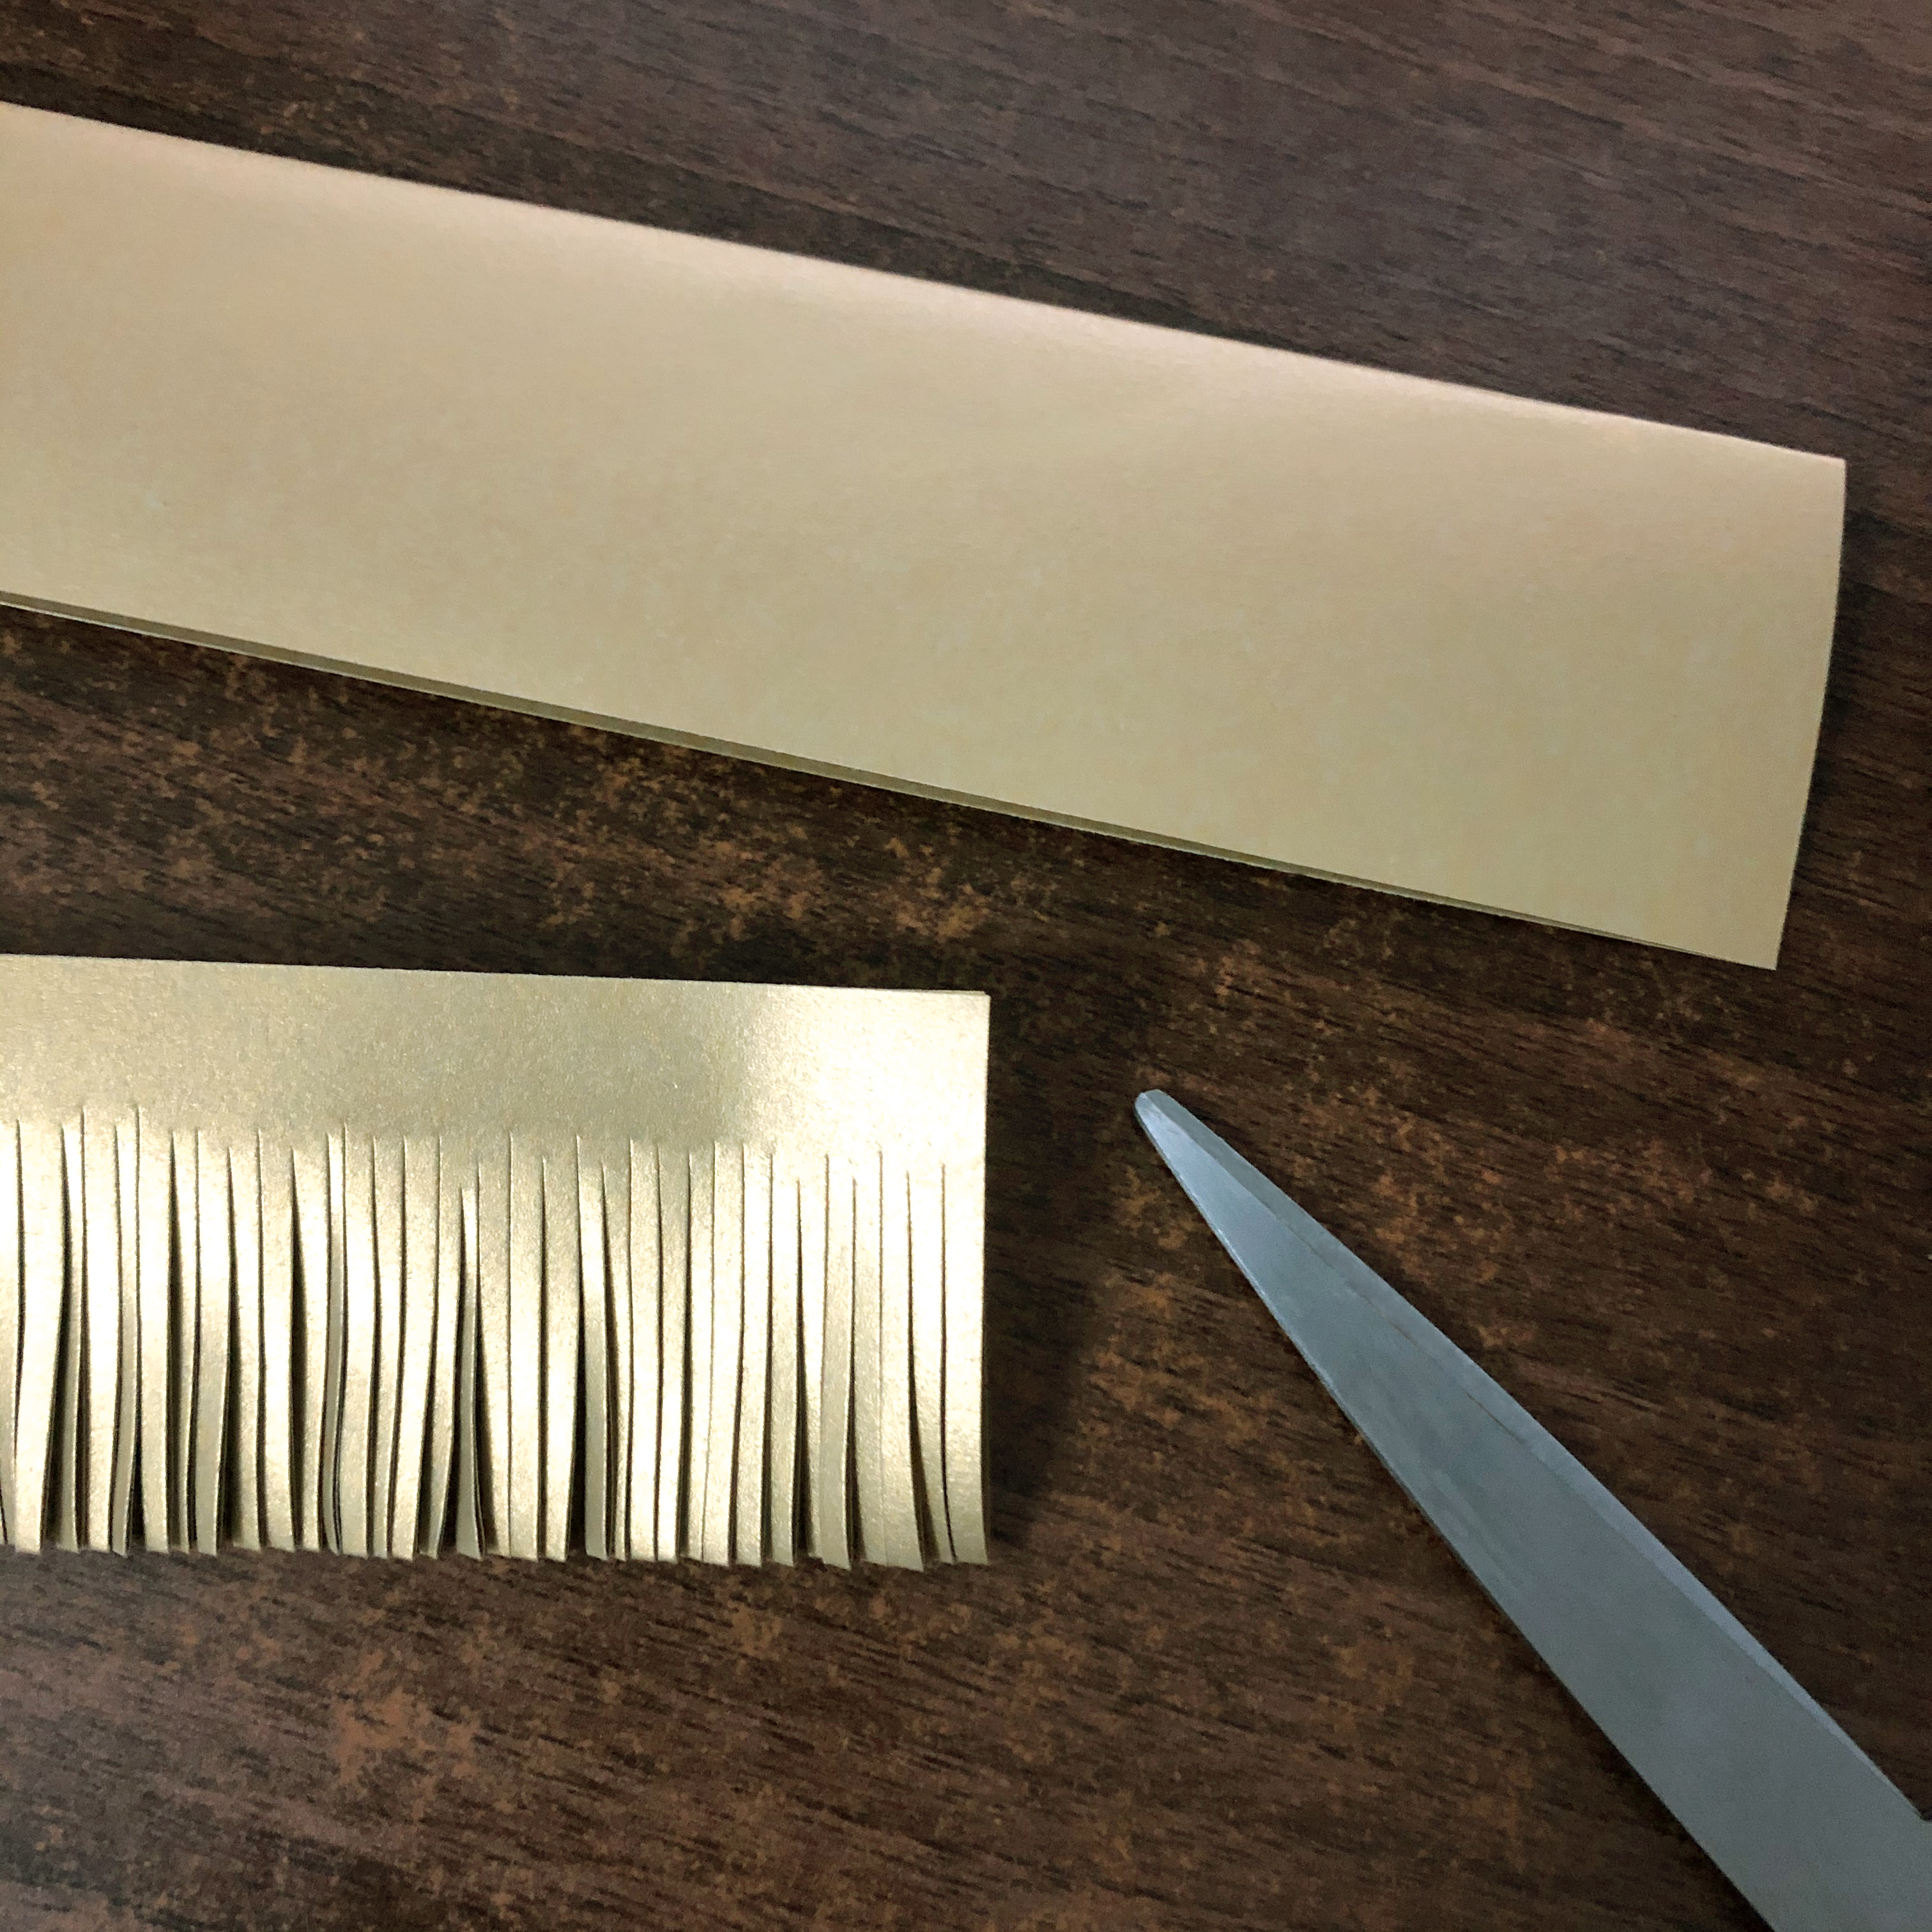
Fold over a strip of gold paper (about 15cm) and cut fringe-like slits all along it, keeping about a centimetre away from one edge.
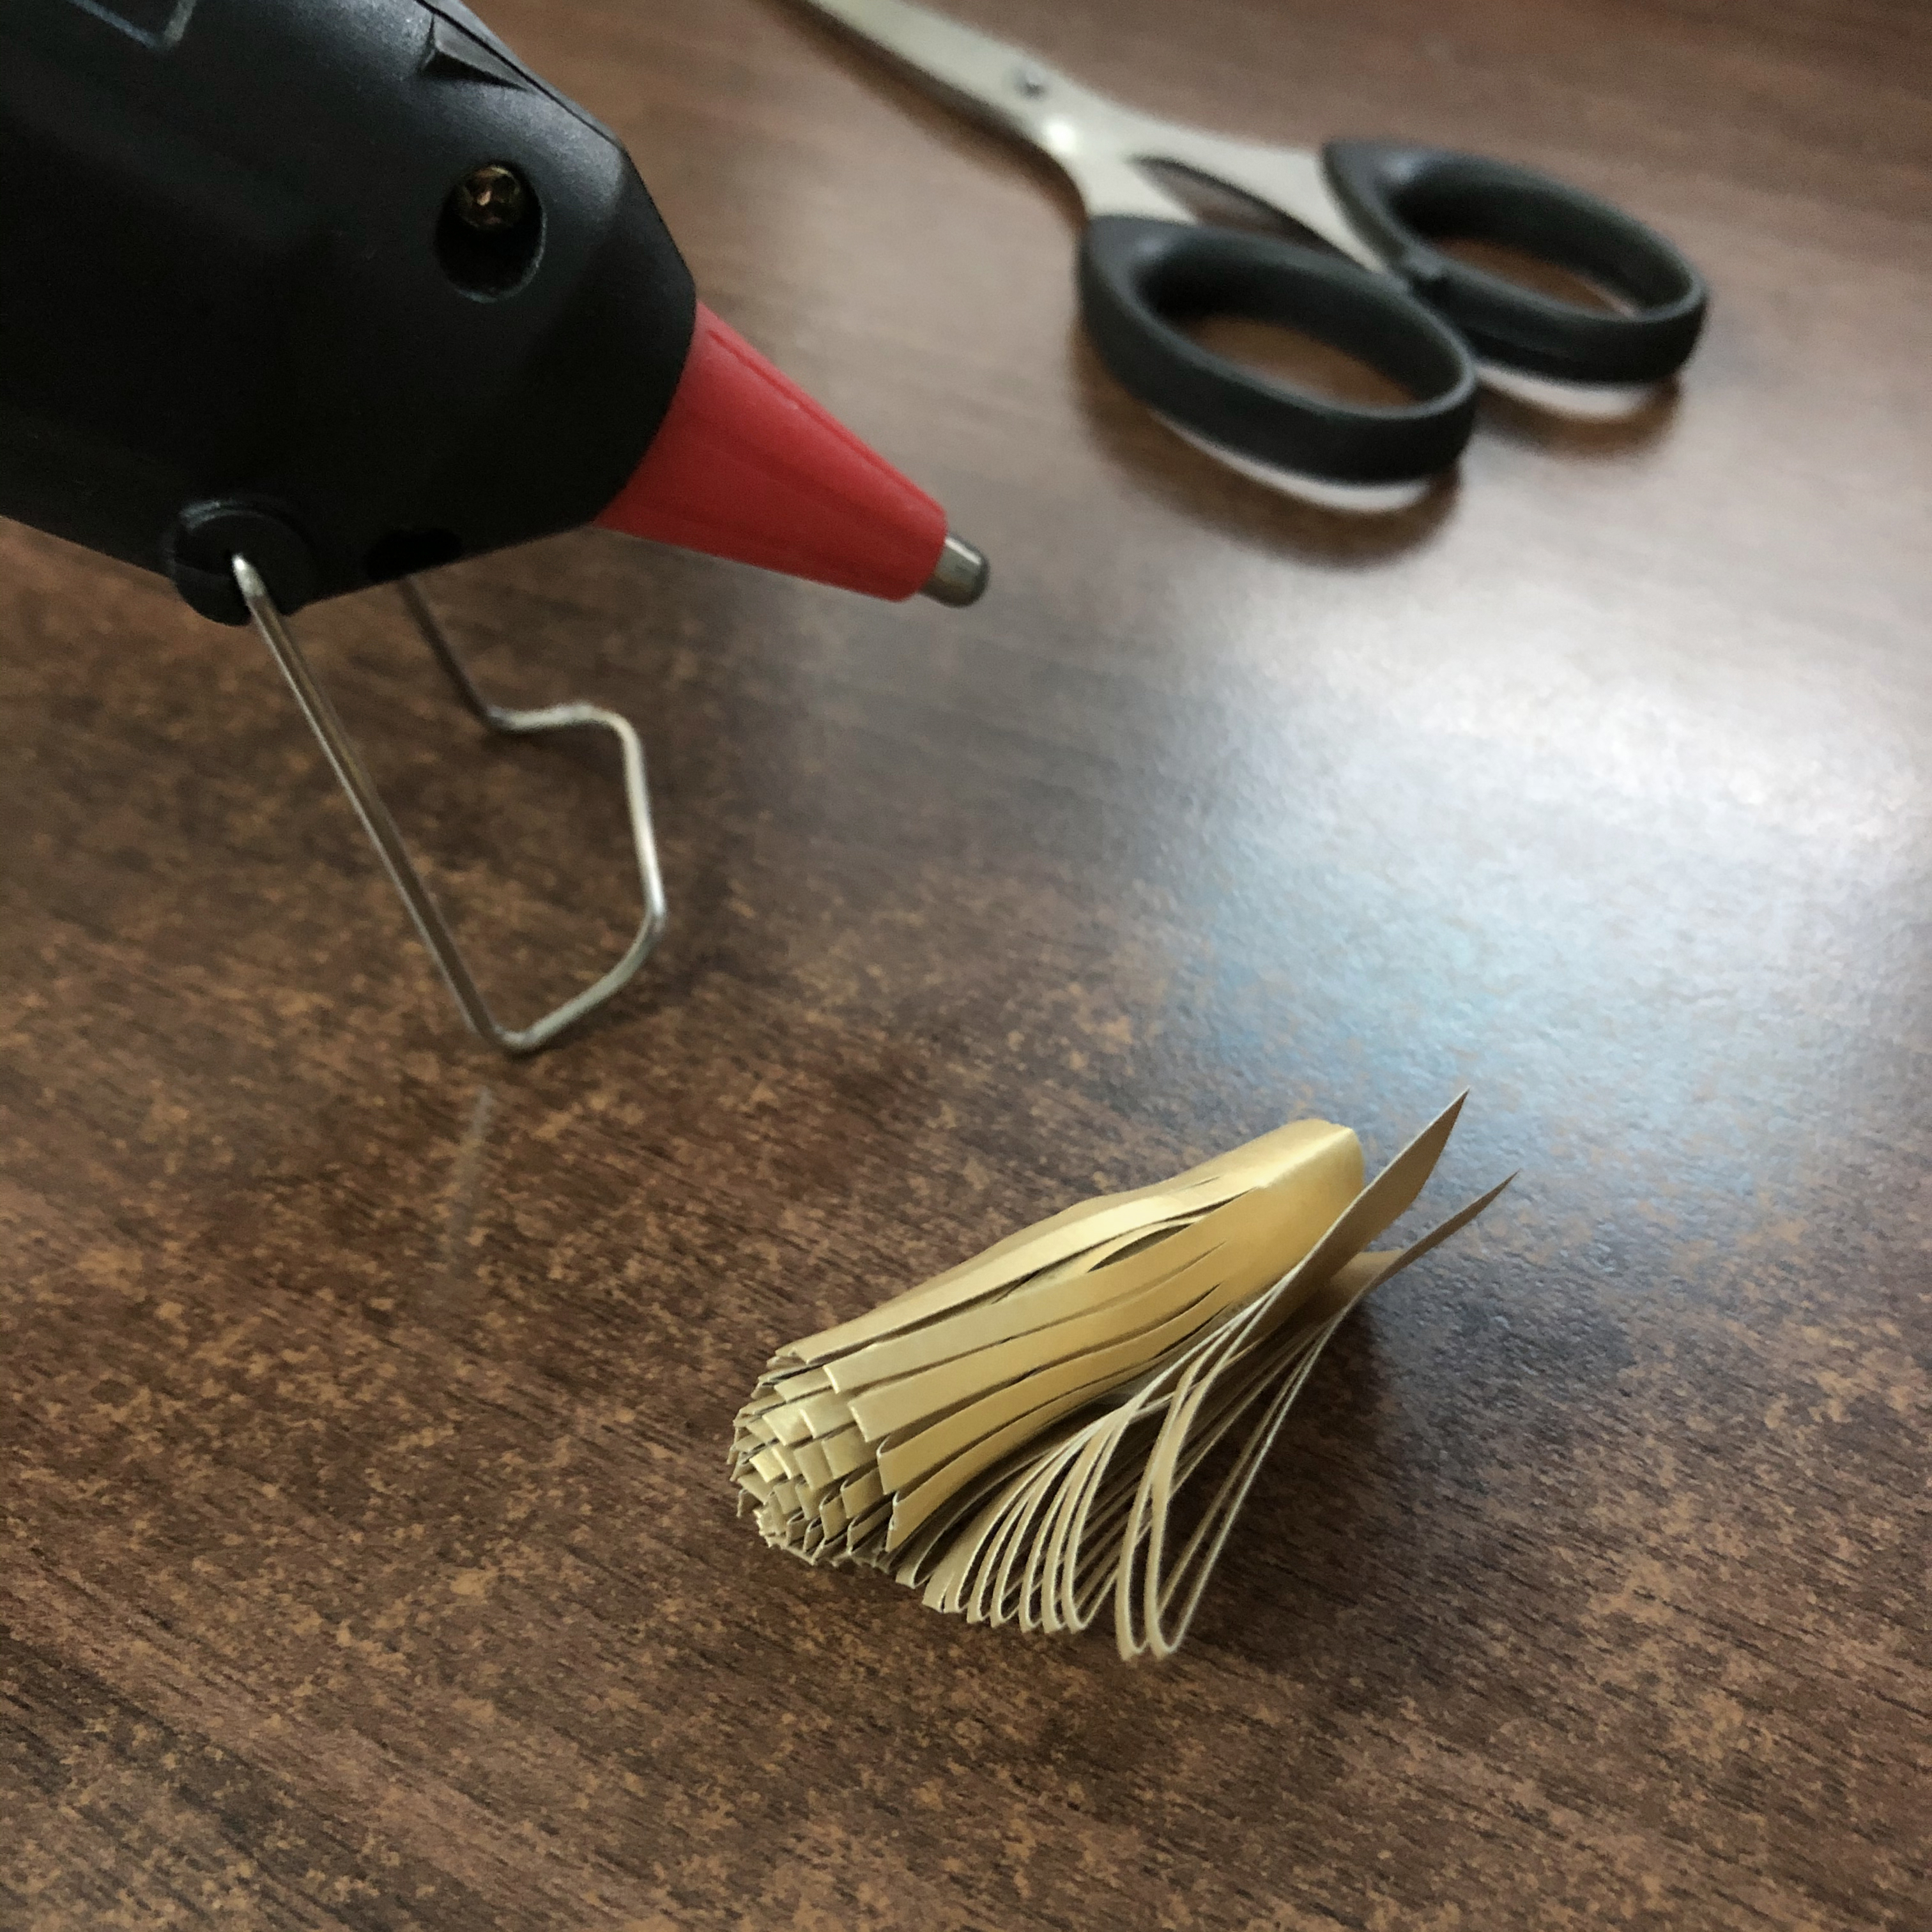
Roll the strip, glue the ends down, fluff out the filaments, and then secure it to the centre of the peony with some hot glue.
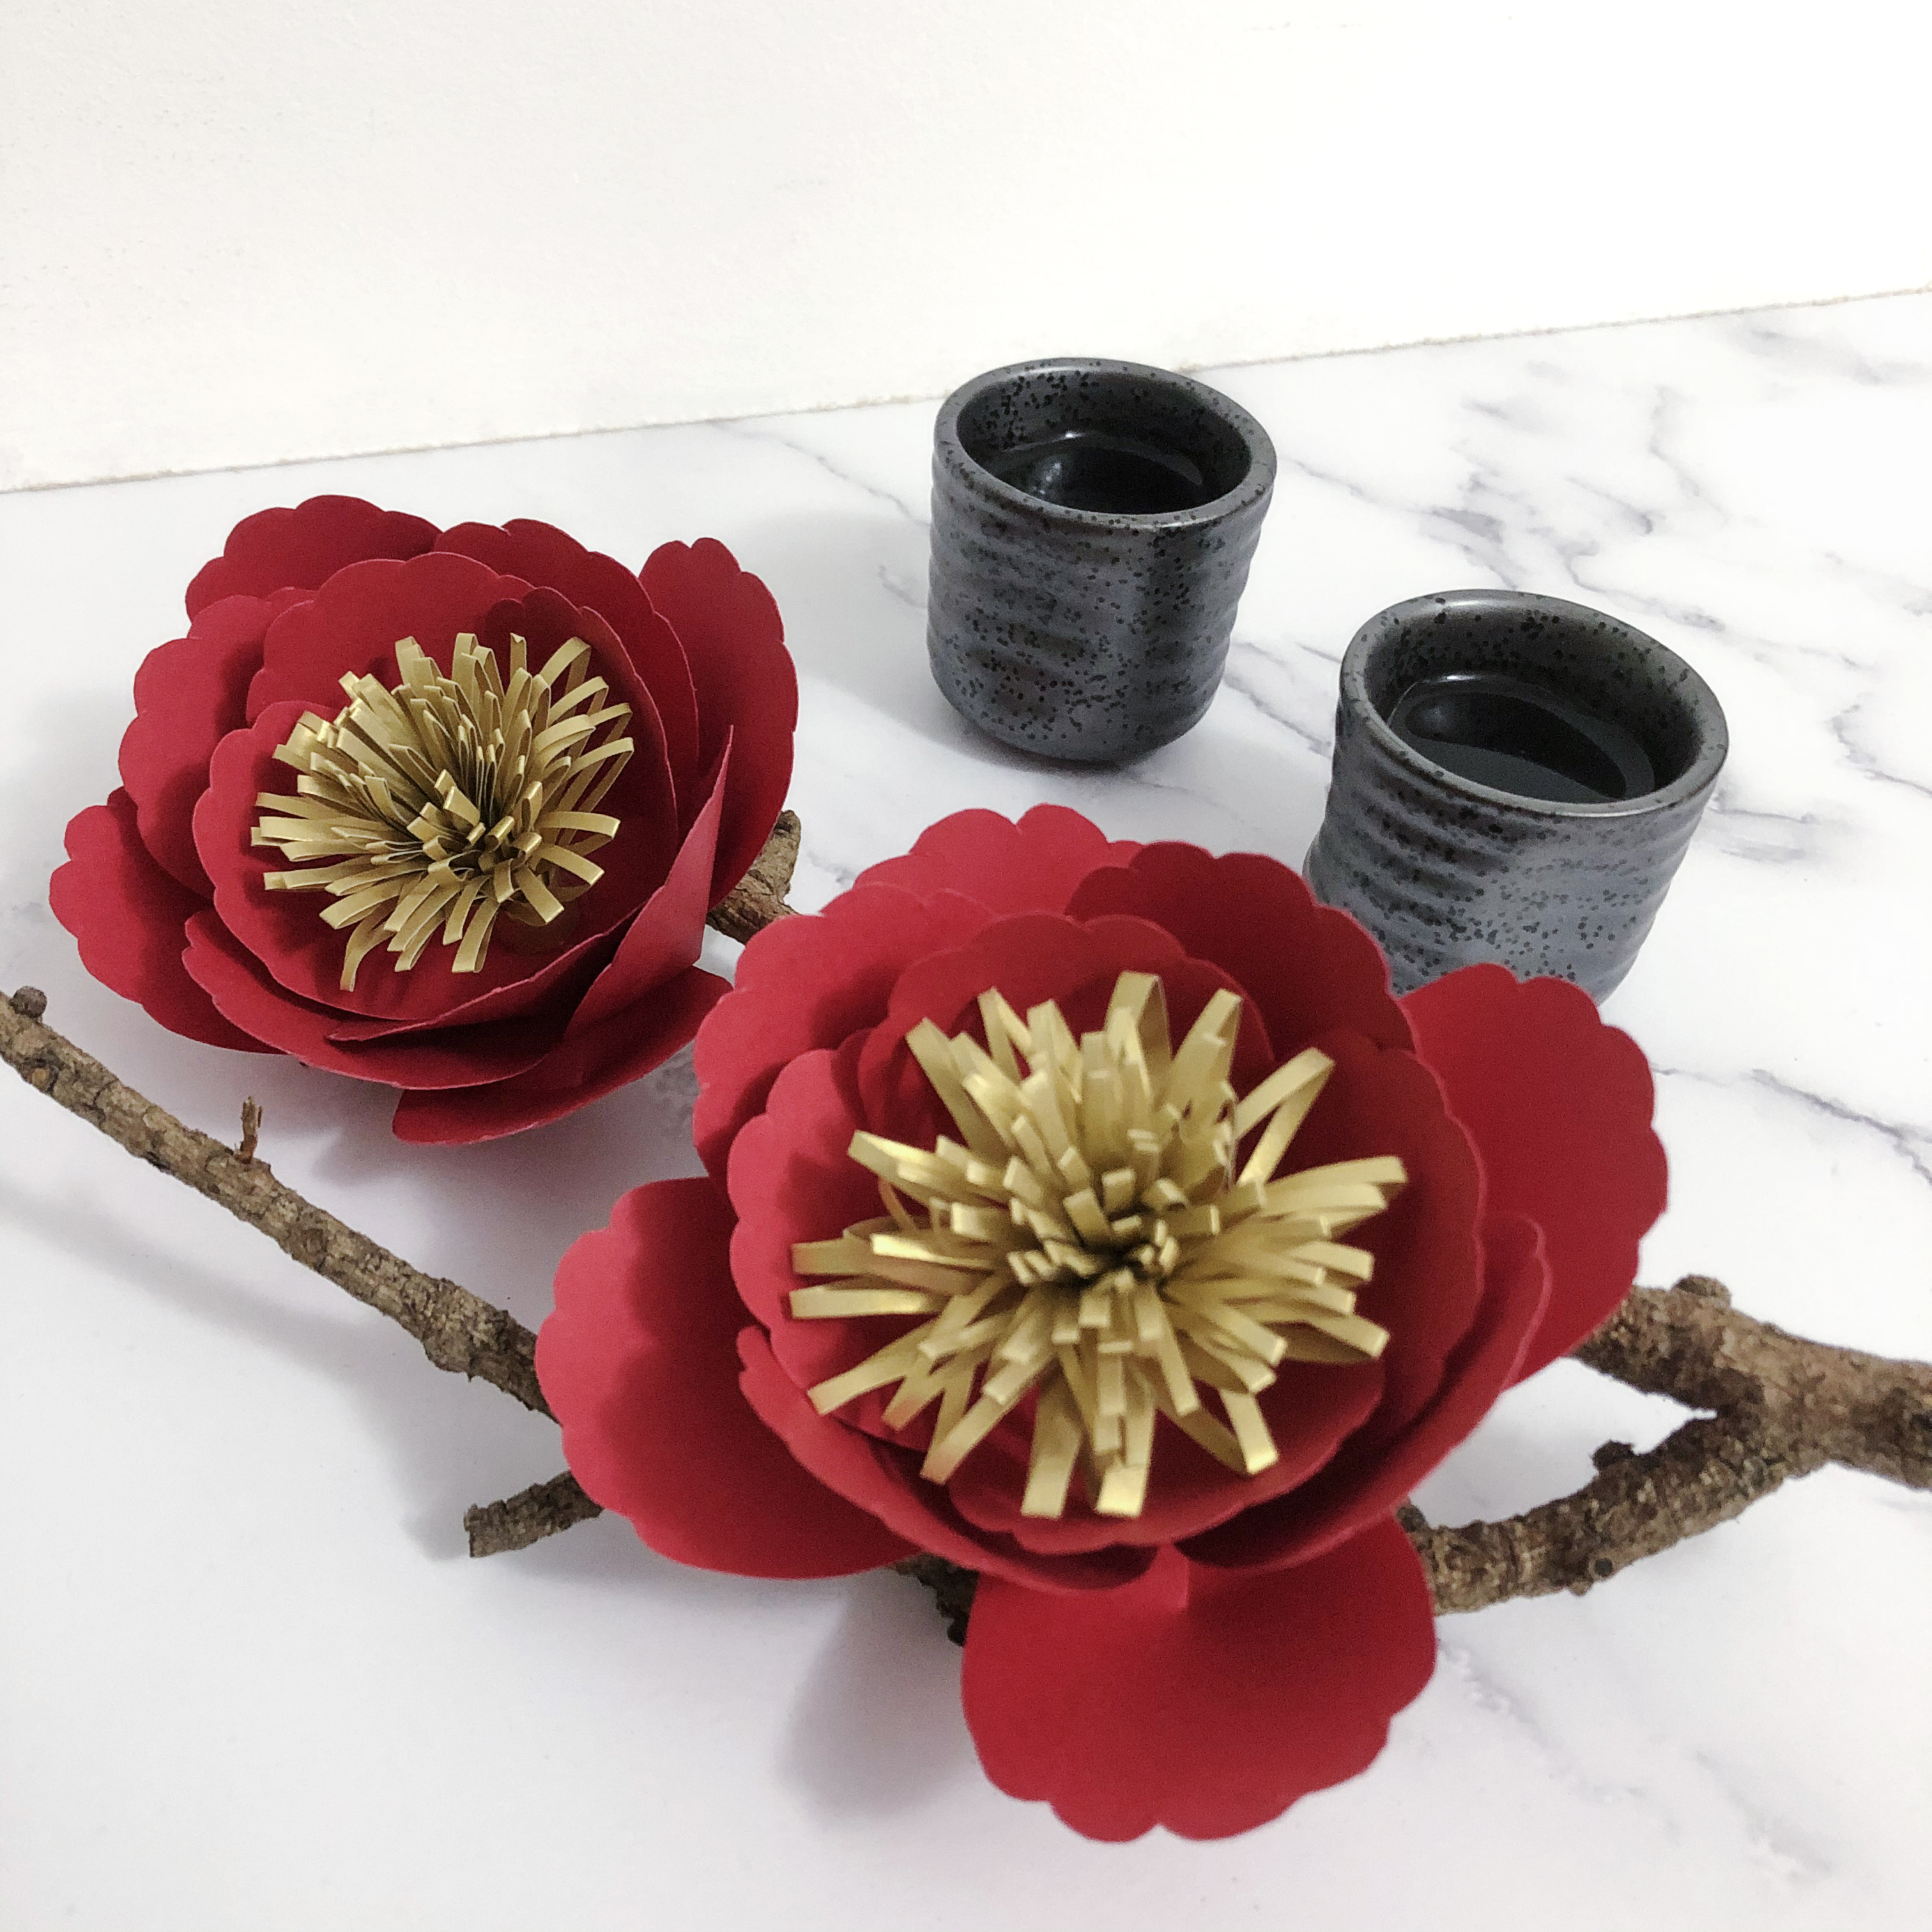
The peonies are now ready to brighten up your tea tray! 🍵 They’ll also look great attached to napkin rings, as wall garlands, or toppers for your snack jars. 👌
MINI OX TREAT BOX
Children will love this…Not only is it cute, it’s also just the right size for chocolates and nuts! 🍬😋 This origami box is made out of two components, and you can find the instructions to make it on this video.
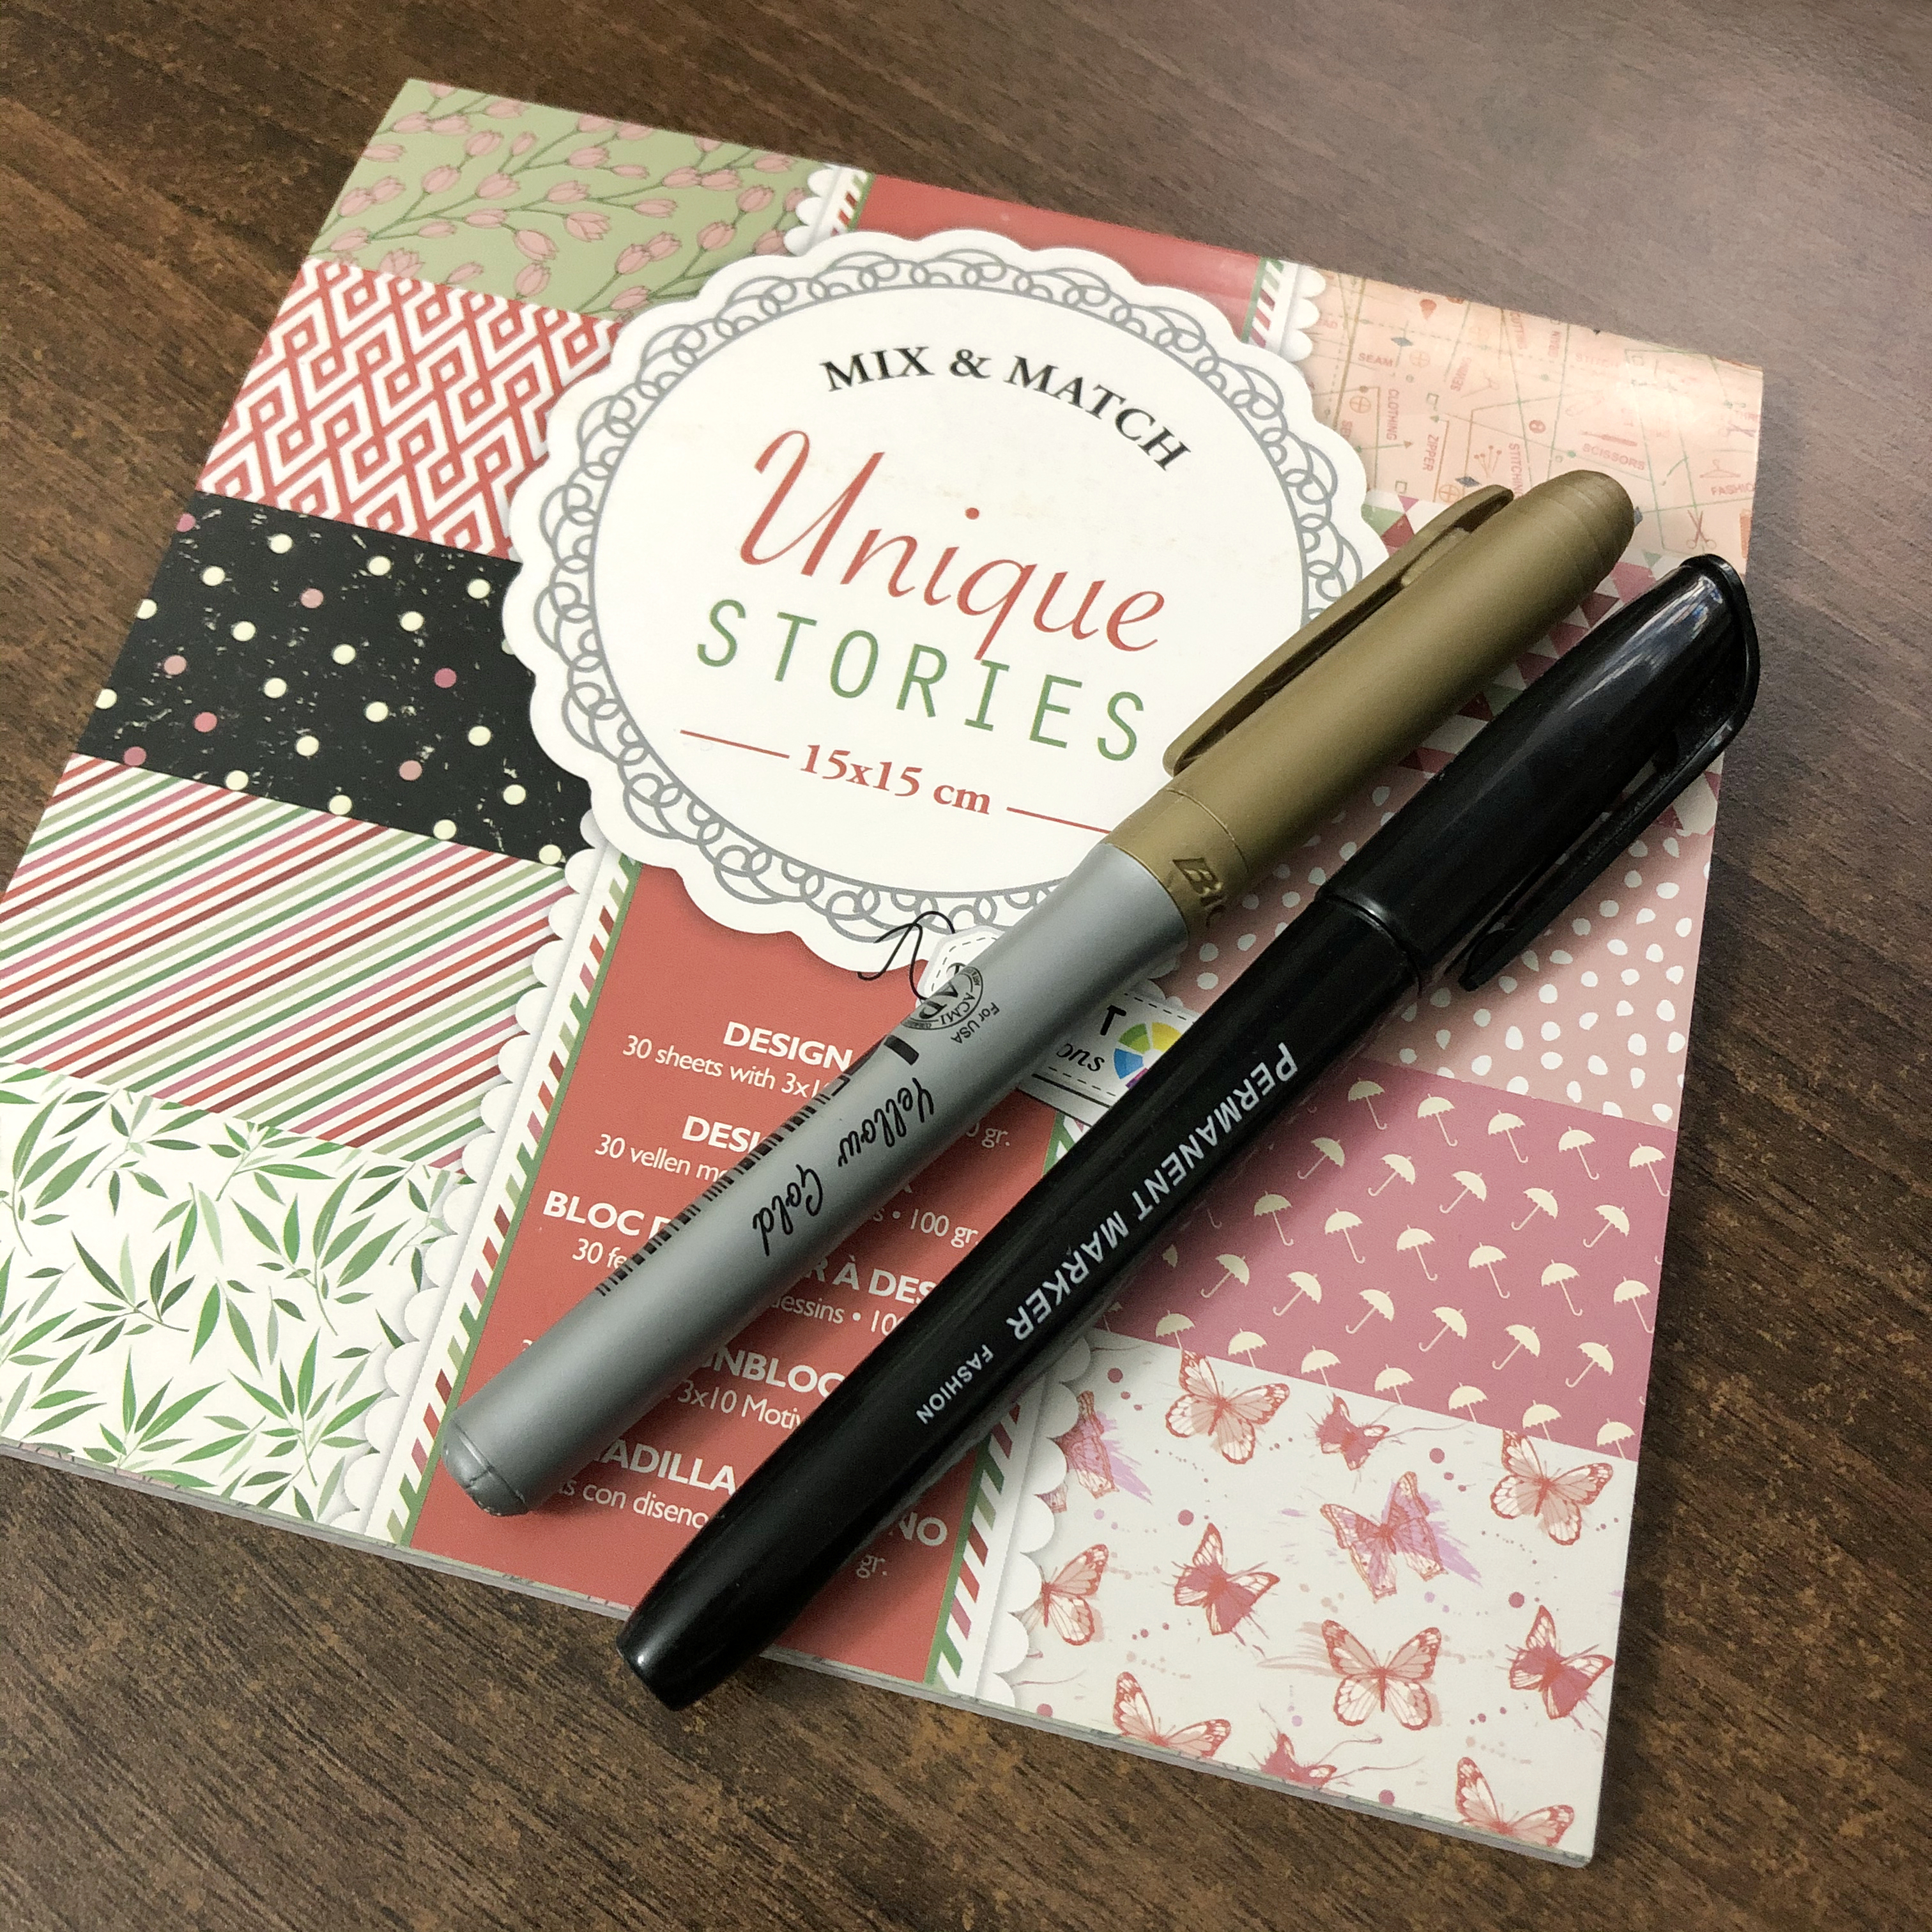
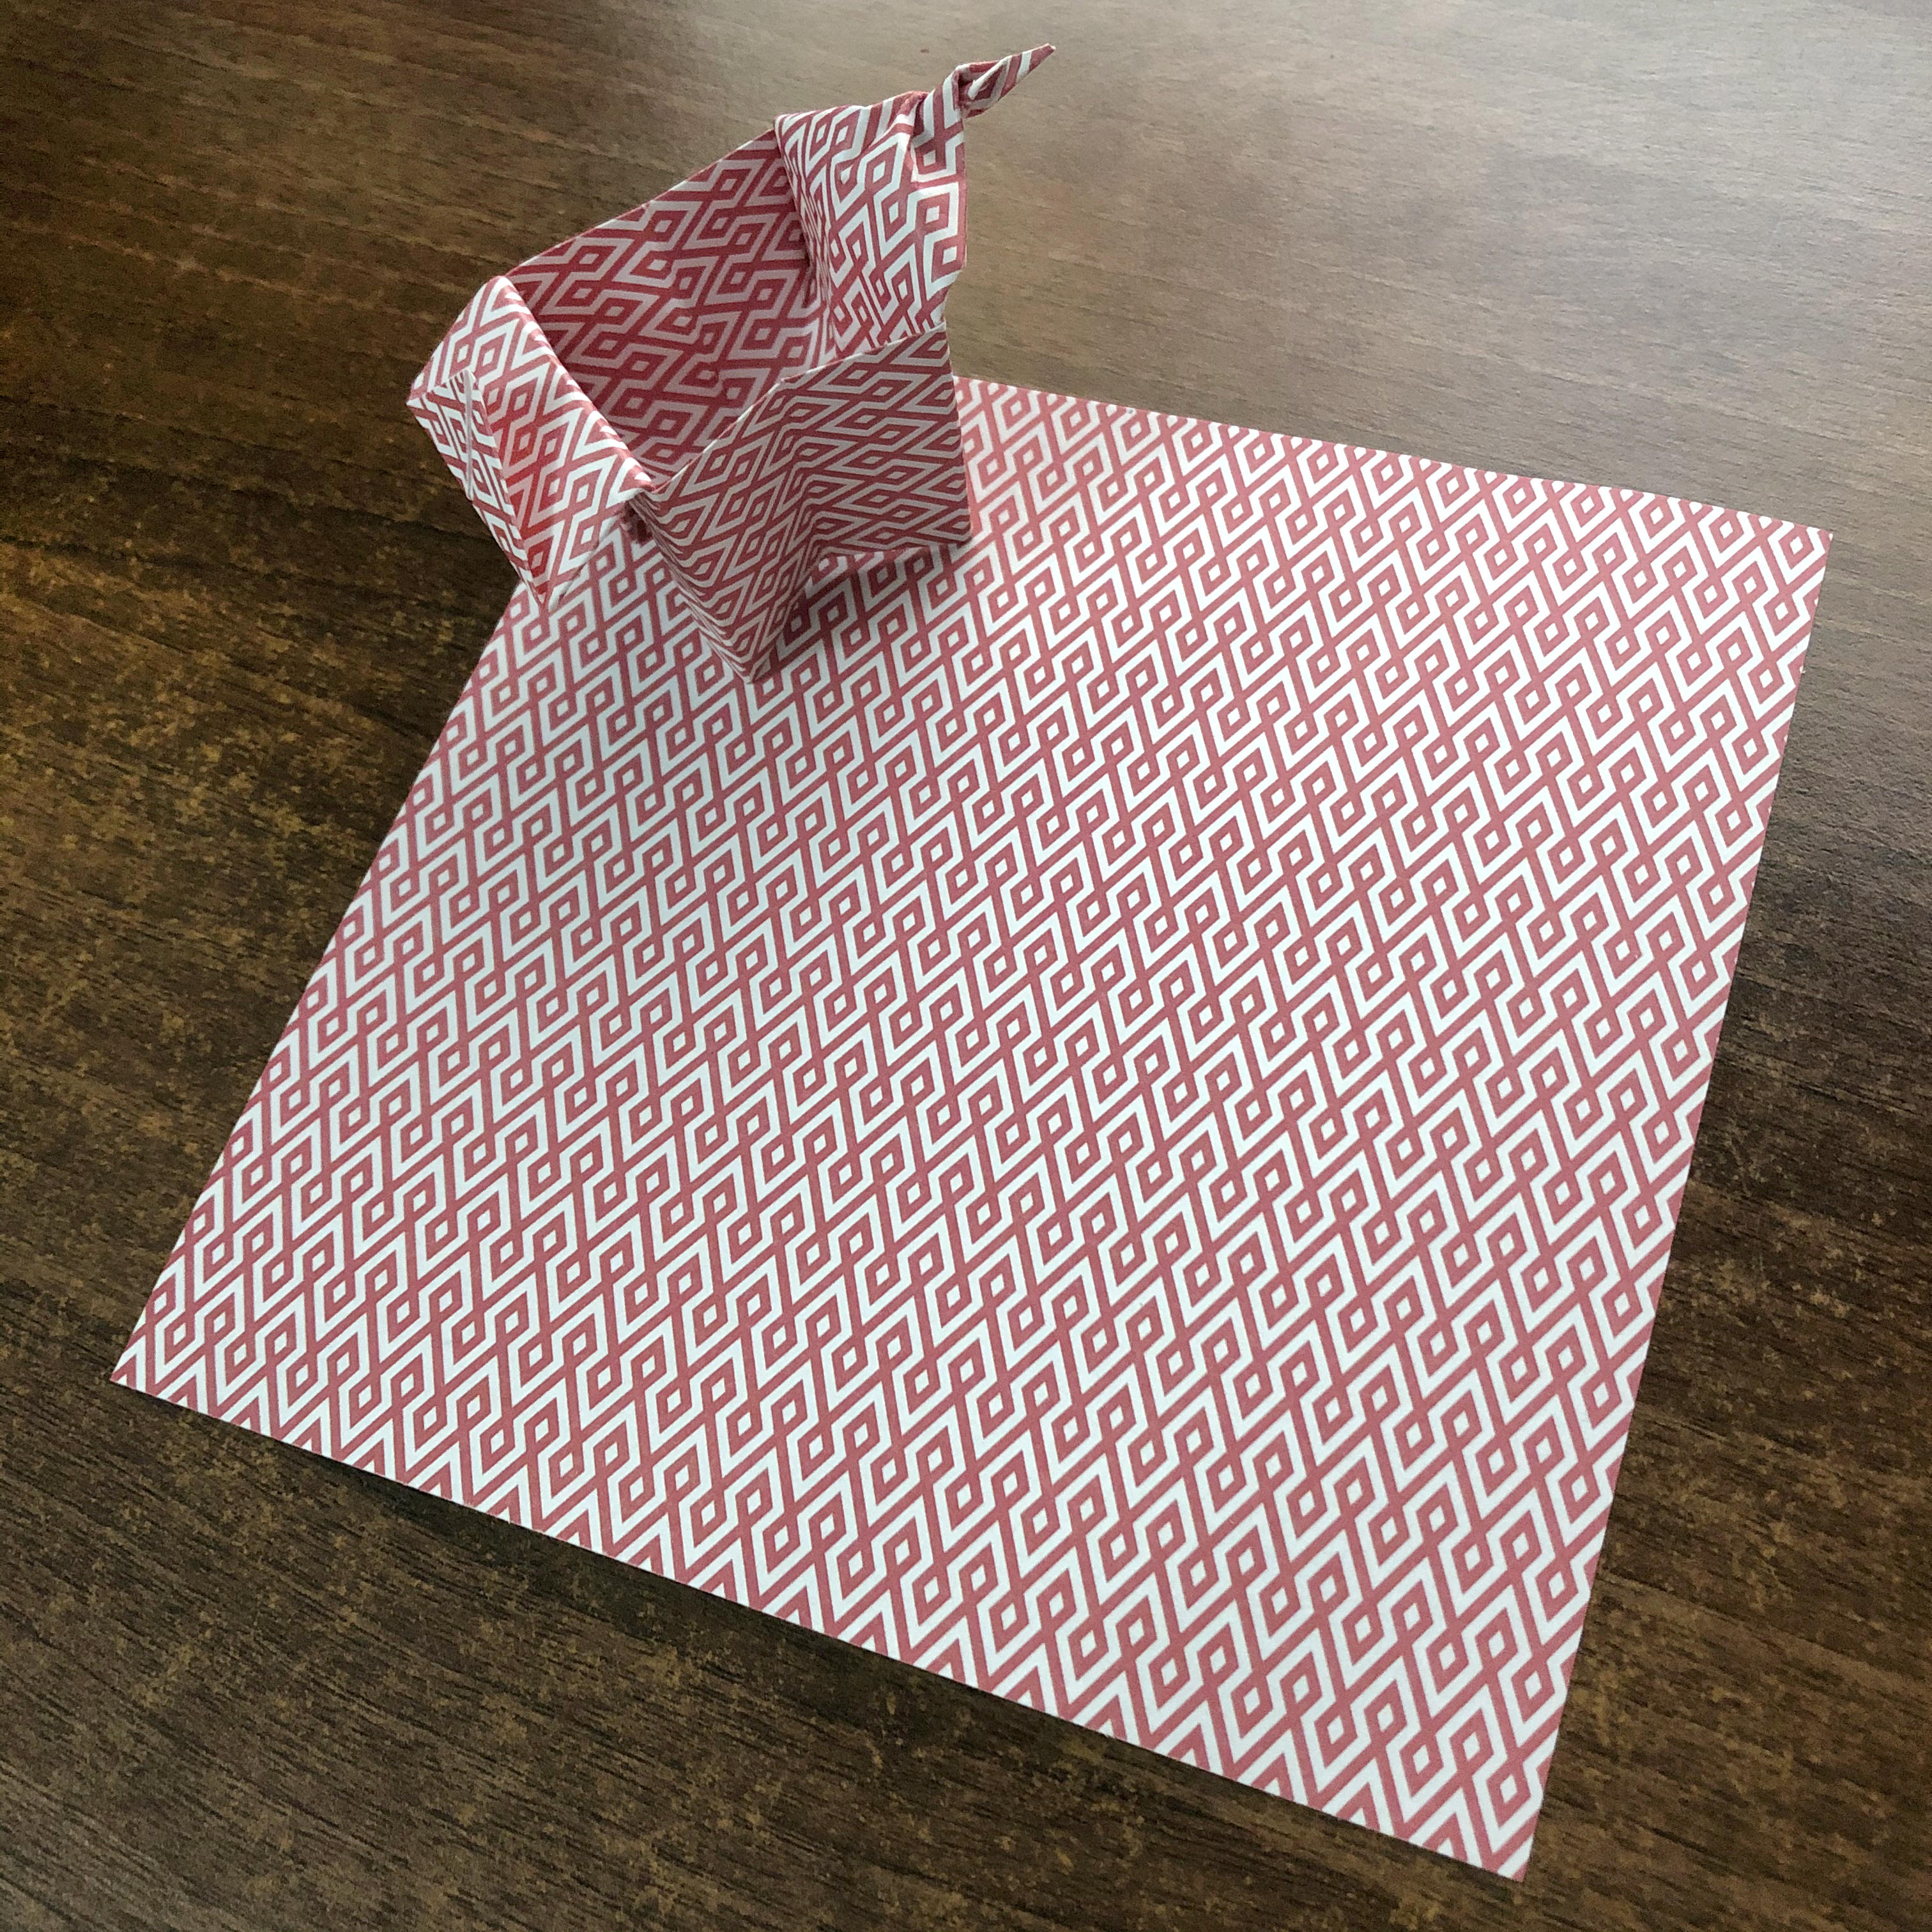
All you will need are two sheets of coloured or patterned paper — one sized 15cm by 15cm, and another 12.5cm by 12.5cm; gold and black marker pens; scissors and glue. If you have any old hongbaos lying around, the illustrations on them can be cut out and used as extra embellishments on your origami box.

Know someone who belongs to the ox zodiac? Wish them a Happy 牛 (Niu) Year with this adorable little gift! 🐮💝
